Healthier Lemon Bars with Almond Flour Crust (Gluten-Free)

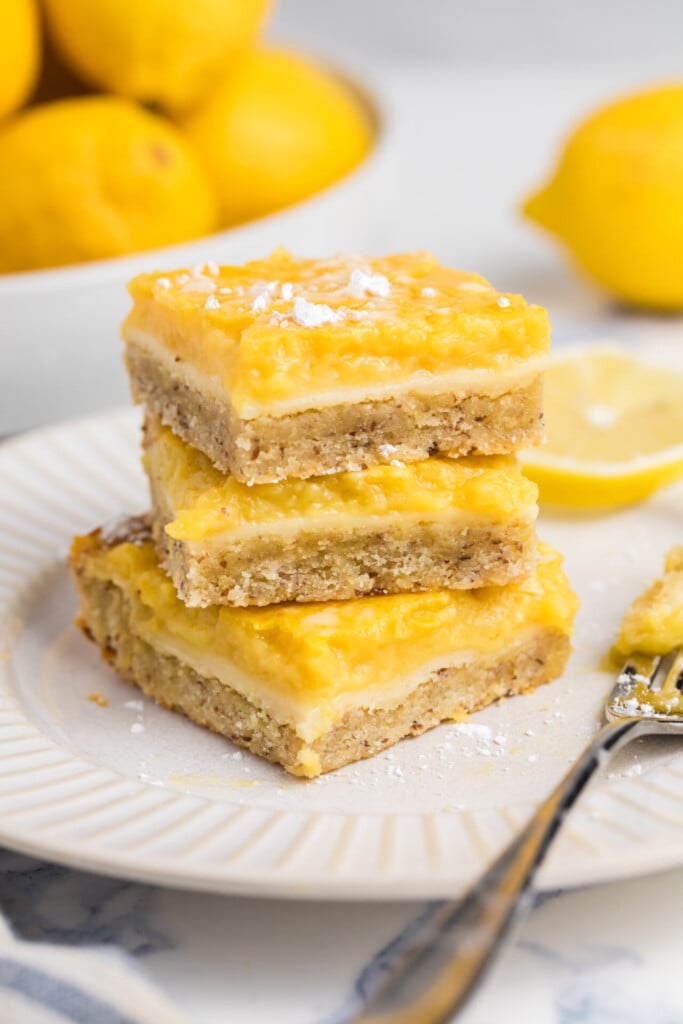
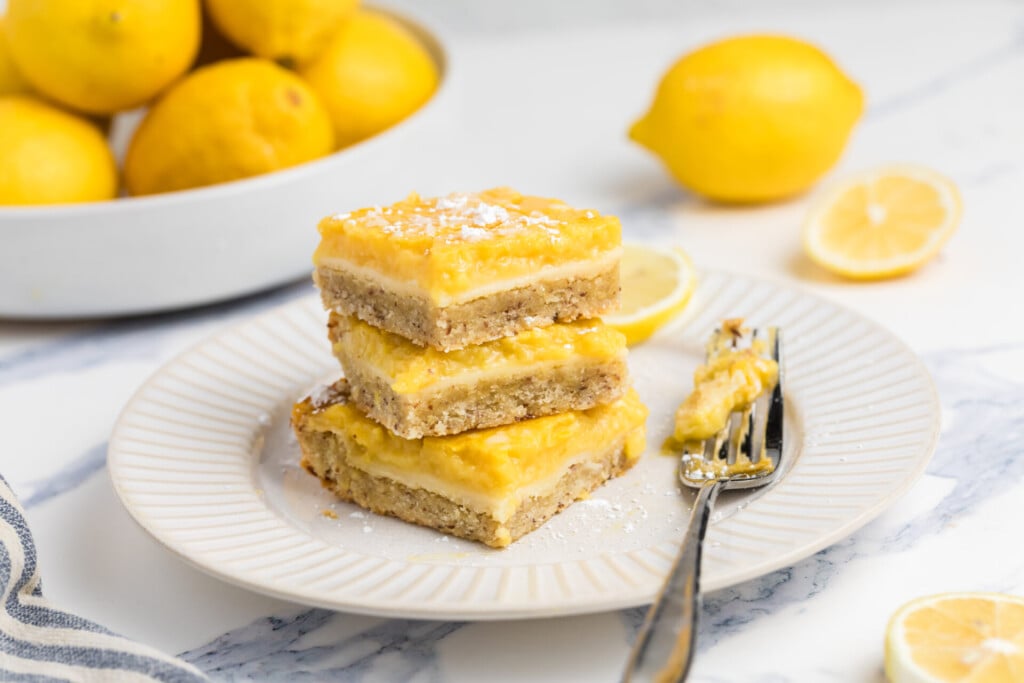
Sunshine in a square! These healthier lemon bars have everything I adore about the classic dessert: a sweet filling with that irresistible ooey-gooey texture, layered over a buttery, shortbread-style crust. But this freshened-up version is made without butter, dairy or white flour—and I promise, there’s absolutely no sacrifice on flavor.
Save This Recipe
As a dietitian, I love finding thoughtful ingredient swaps that add nutritional goodness while preserving everything that makes a dessert special. Here, blanched almond flour creates a tender, rich-tasting crust and contributes heart-healthy fats, while ground flaxseeds add fiber and plant-based omega-3s. Pure maple syrup sweetens both layers, and freshly squeezed lemon juice delivers that unmistakable citrusy pucker.
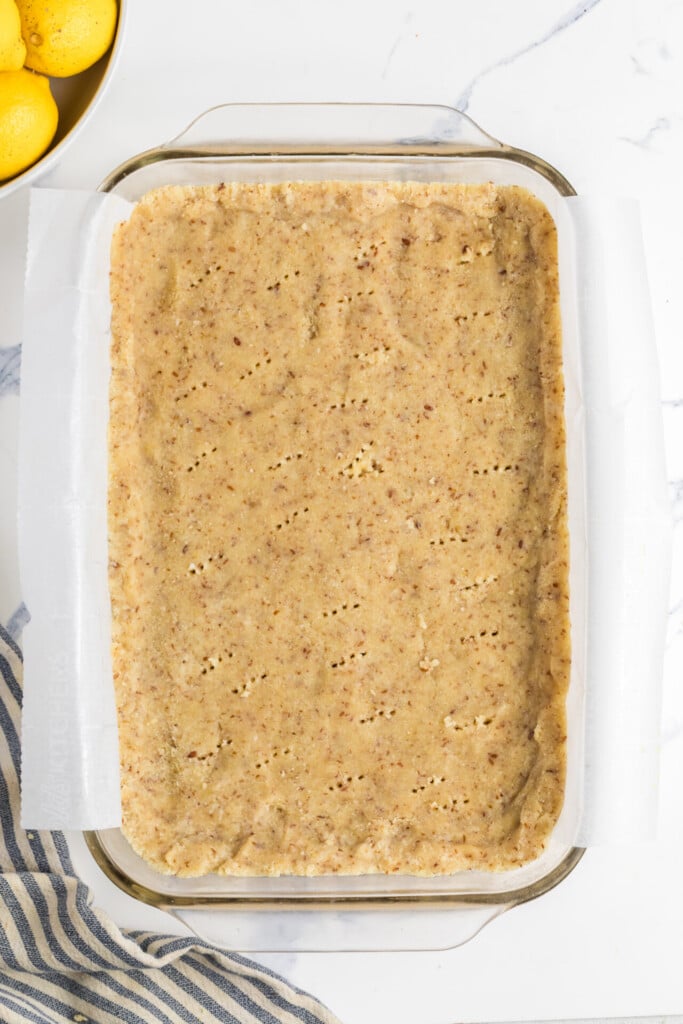
Make the crust
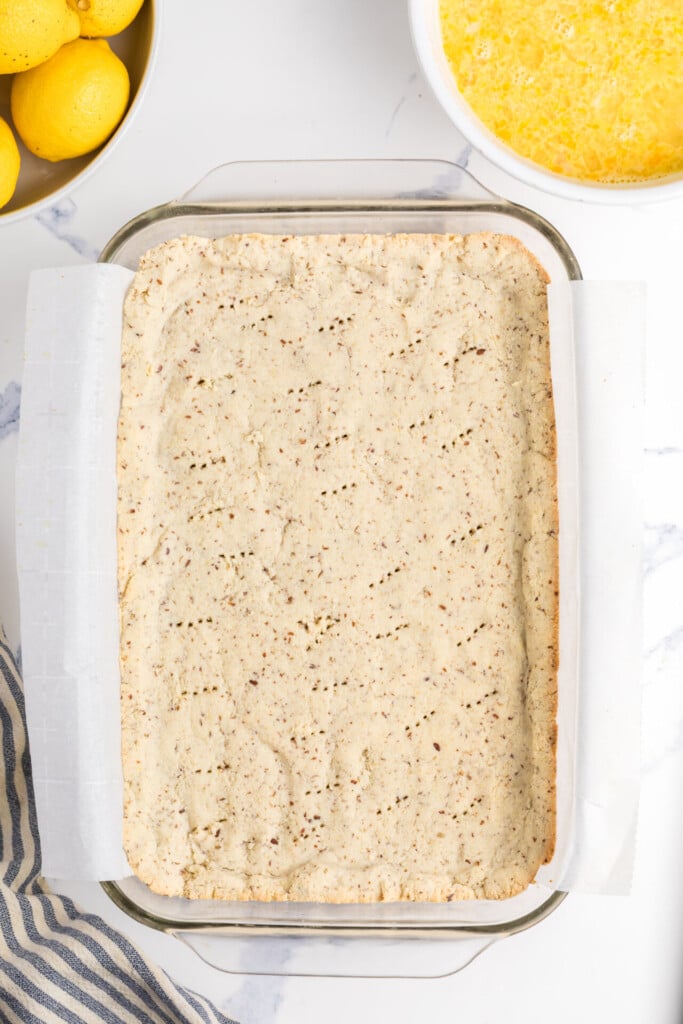
Prepare the filling + bake!
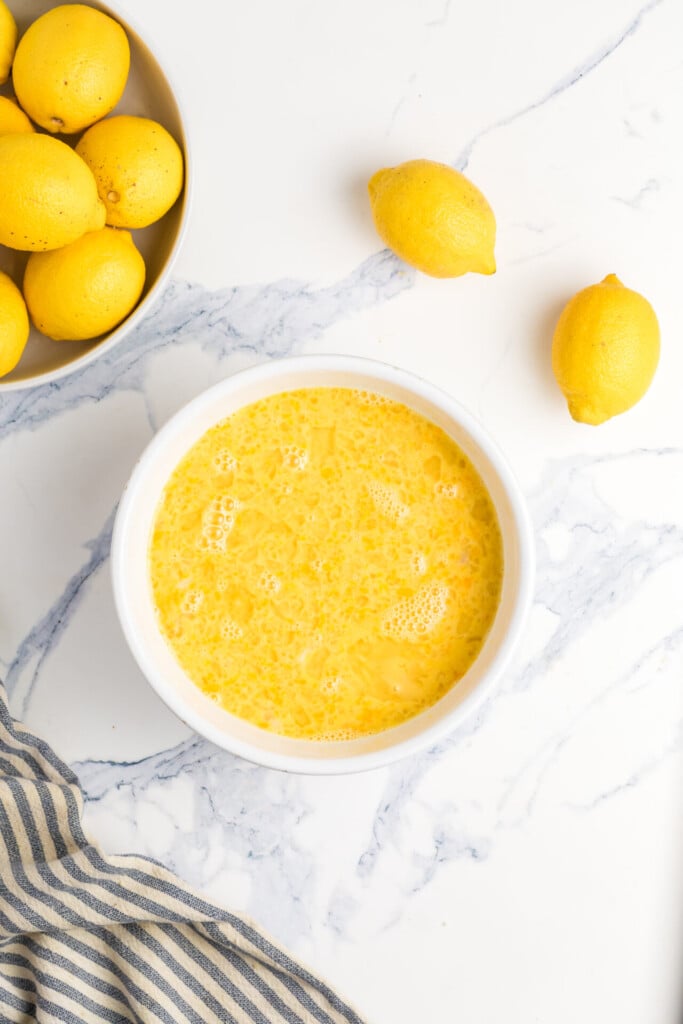
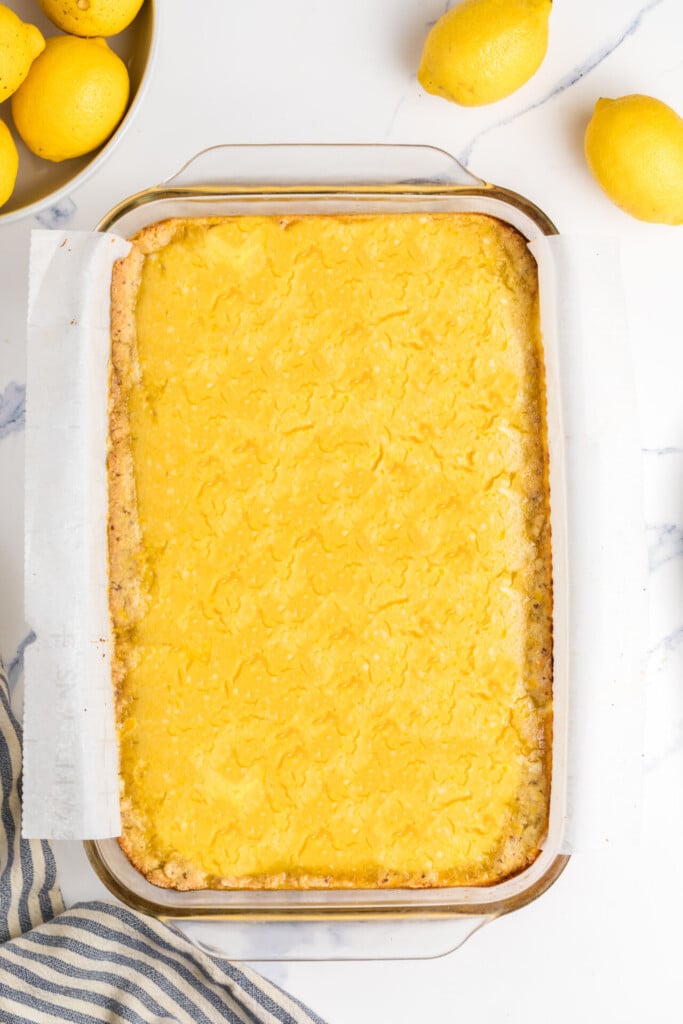
The sweet story behind these lemon bars
A few springs ago, I hosted a backyard get-together, and a dear friend arrived carrying a bakery box filled with lemon bars. They were DIVINE… and they vanished before the wine was even poured, ha.
When we learned that the recipe called for a full pound of butter and mountains of powdered sugar, my girlfriends immediately challenged me to create a lighter version. Challenge accepted! I got to work the very next day, determined to capture the same bright bliss using ingredients I felt good about. After more test batches than I care to admit lol… and with plenty of enthusiastic help from my neighbors… this was the version that earned a unanimous five-star rating.
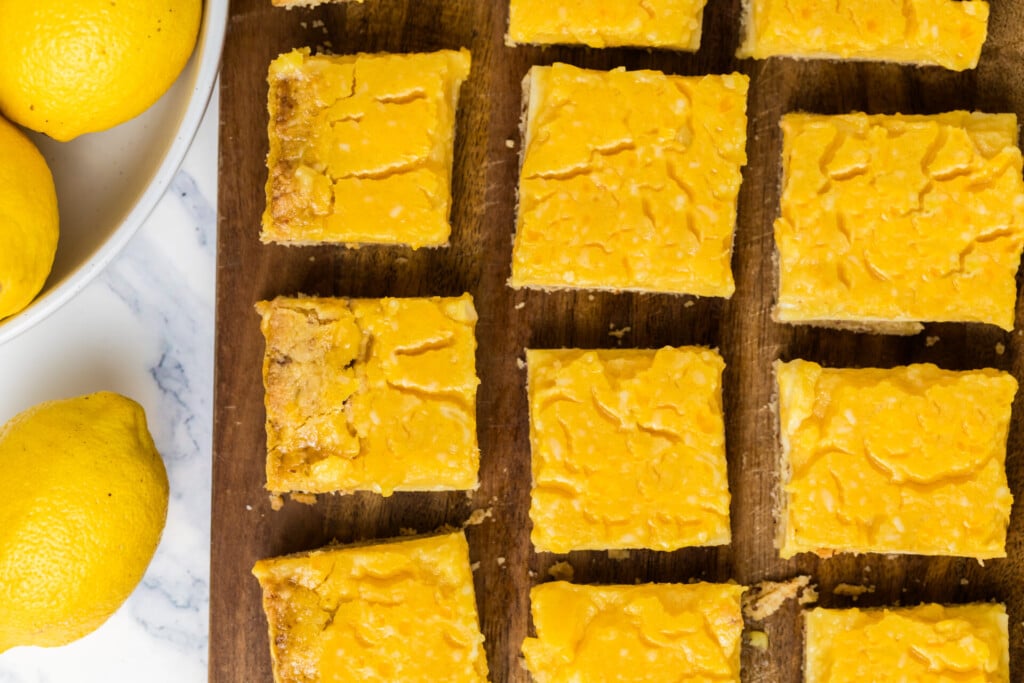
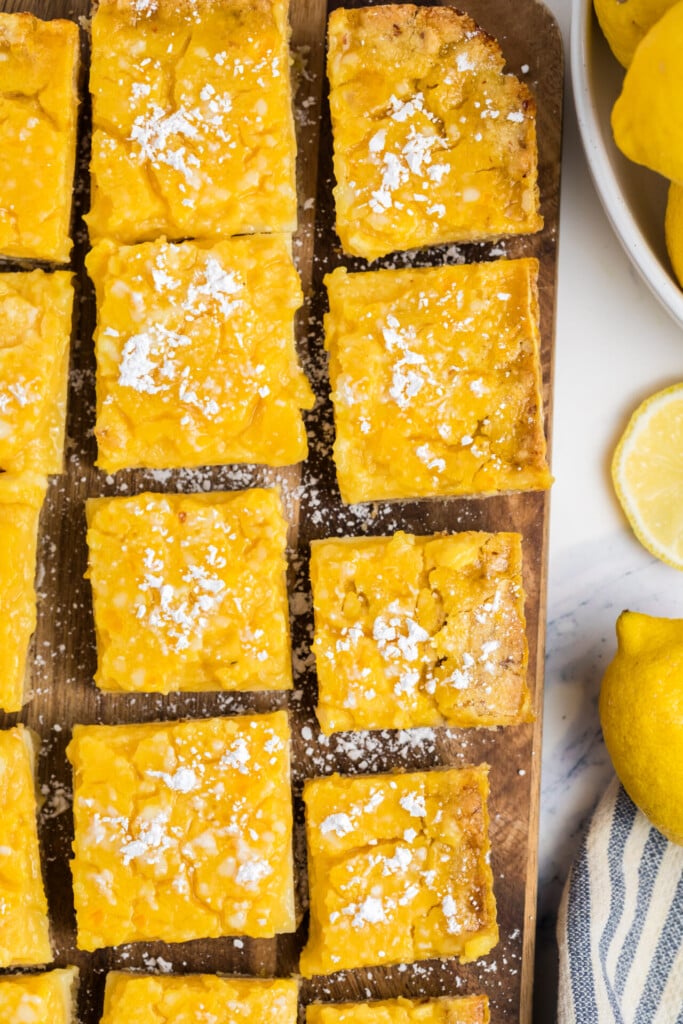
A little zest for every occasion
These bars feel especially perfect for spring and summer, but honestly, I’ll happily serve them year-round. Their sunny yellow filling makes them a beautiful addition to Easter, Mother’s Day, bridal and baby showers, backyard cookouts or any gathering that could use a bright pop of citrus.
They’re also easy to prepare in advance. In fact, they need several hours in the refrigerator to set, so making them the day before is not only convenient, it’s encouraged!
If you’re assembling a dessert spread, pair them with my 2-Ingredient Chocolate Pie, Easy Mini Cheesecakes, 3-Ingredient Strawberry Cobbler, Superfood Brownie Bites, and Gluten-Free Southern Peach Crumble… lots of sweet happiness all on one table!
Two important tips before you start
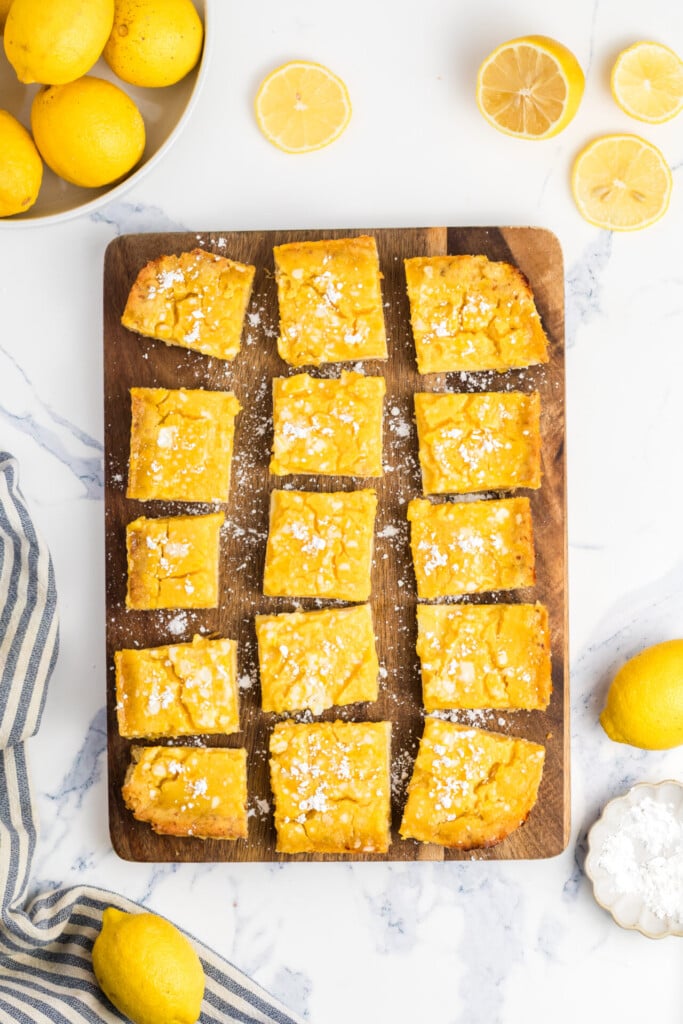
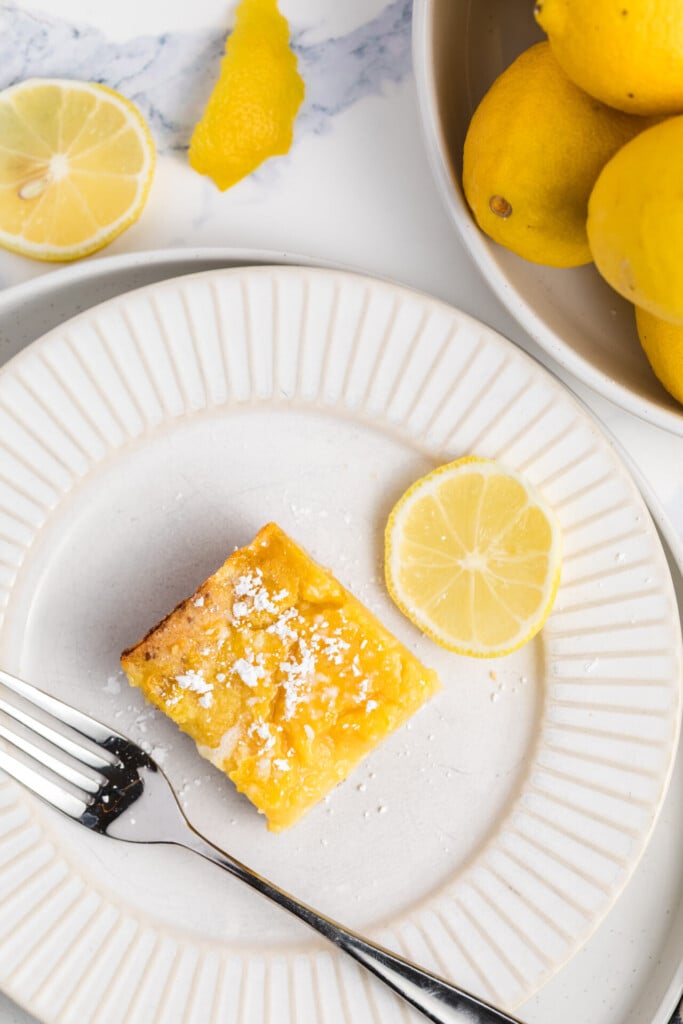
- Give the bars plenty of time to chill. The crust and filling come together quickly, but the finished bars need at least three hours in the refrigerator—or preferably overnight—to set completely. This creates that luscious texture and helps you cut clean, picture-perfect squares. They’re best served chilled, so this recipe is terrific for entertaining.
- Stock up on fresh lemons. You’ll need about seven to eight large lemons to produce 1½ cups of juice. Freshly squeezed juice is essential here; bottled lemon juice can taste flat or slightly bitter. And always zest your lemons before squeezing them—it’s nearly impossible to zest a floppy lemon half. Been there!
And if you have a few extra lemons hanging around, put them to use in my Lemon Poppy Seed Muffins. As I like to say: When life gives us lemons, we bake all the things!
Healthier Lemon Bars with Almond Flour Crust (Gluten-Free)
Ingredients
For the crust:
- 4 ½ cups blanched almond flour
- 3 tablespoons ground flaxseeds
- ¼ teaspoon kosher salt
- 4 ½ tablespoons coconut oil, melted
- 2 tablespoons maple syrup
- 6 to 8 tablespoons almond milk, at room temperature*
For the filling:
- 4 large eggs + 1 large egg white
- ⅔ cup arrowroot flour, also labeled arrowroot starch or powder
- 1 ½ cups fresh lemon juice, from 7 to 8 large lemons
- 1 cup maple syrup
- 1 tablespoon lemon zest, zest the lemons before juicing
- Pinch of kosher salt
- Confectioners' sugar, for dusting just before serving, optional garnish
Instructions
- Preheat the oven to 350°F. Lightly mist a 9×13-inch glass, ceramic, or nonstick baking pan with nonstick oil spray (with this much lemon juice, avoid uncoated aluminum pans, which can lend a metallic taste). Line the pan with a large piece of parchment paper that hangs over the two long (13-inch) sides—this “sling” is how you’ll lift the finished bars out of the pan. Mist the parchment and the two exposed short ends of the pan, too.
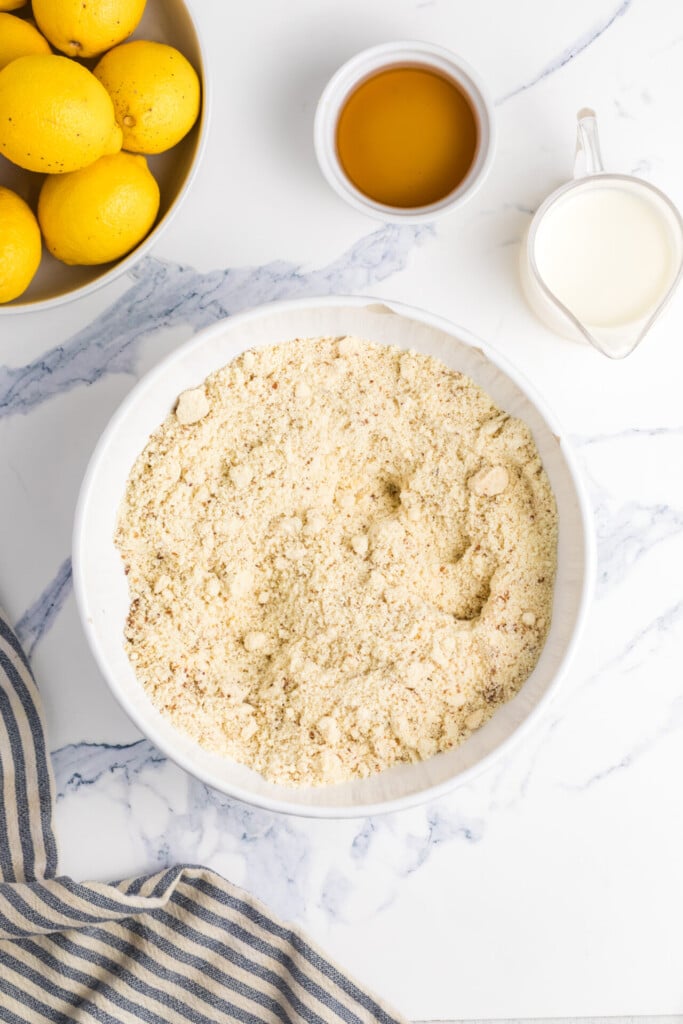
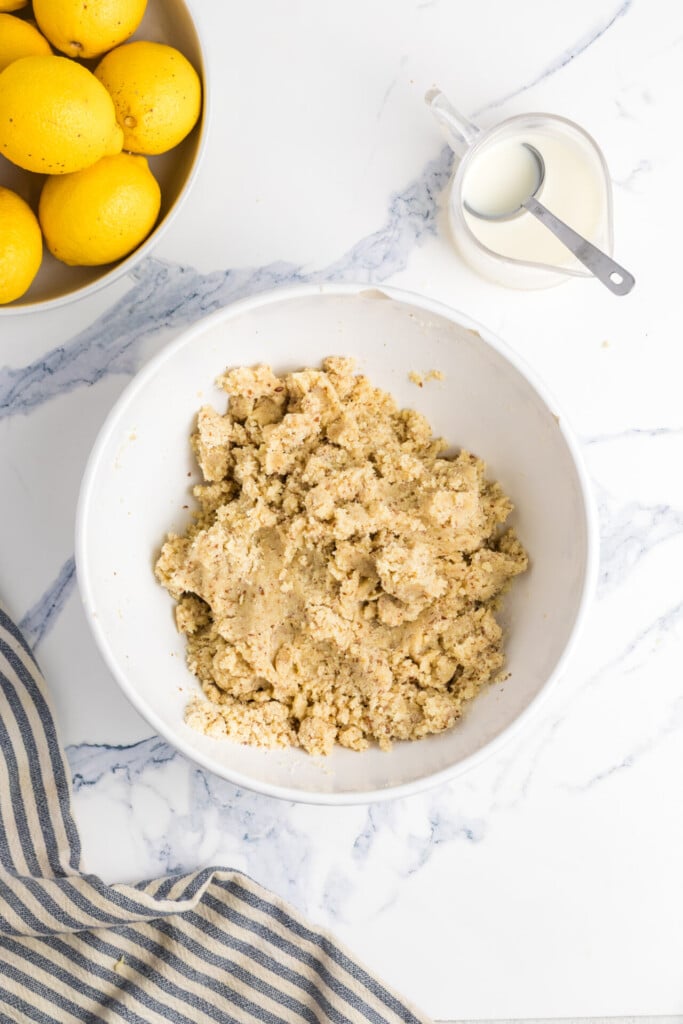
- Make the crust: In a large bowl, stir together the almond flour, flaxseeds, and salt with a fork. Pour in the melted coconut oil and maple syrup and stir until evenly combined. Add the almond milk 1 tablespoon at a time, stirring after each addition, just until the dough holds together when you squeeze a handful in your palm—you may not need all 8 tablespoons. (Too dry and it will crumble; too wet and it turns pasty, so go slowly toward the end.)
- Transfer the dough to the lined pan and press it firmly into an even layer across the bottom—the flat bottom of a measuring cup or drinking glass makes quick, even work of this. Then press the dough about ½ inch up all four sides of the pan to create a low “wall.” Don’t skip this! That little rim is what keeps the liquidy filling contained on top of the crust instead of seeping underneath it.
- Poke the dough all over with a fork (this lets steam escape so the crust bakes flat) and bake for 18 to 20 minutes, until the edges are lightly golden and the surface looks dry.
- While the crust bakes, make the filling: In a small bowl, whisk the eggs and egg white until smooth; set aside. In a large bowl, whisk the arrowroot flour with a few tablespoons of the lemon juice to make a smooth paste, then gradually whisk in the rest of the juice until completely smooth and lump-free. Whisk in the maple syrup, lemon zest, and salt, then the eggs, whisking gently until everything is fully combined—no need to beat air into it (fewer bubbles = a smoother, glassier top). If a foamy layer forms, skim it off with a spoon.
- Give the filling one last stir right before pouring (arrowroot settles fast). For the steadiest pour, pull the oven rack partway out with the hot crust still on it, then slowly pour the filling into the center of the crust and carefully slide the rack back in. Bake for 22 to 28 minutes, until the edges are set and the center still has a slight Jell-O-like jiggle when you gently nudge the pan. This is the key moment: the filling will continue to firm up as it cools, so don’t wait for the center to look fully set in the oven—over-baking is what causes cracks and a weepy texture.
- Cool the pan on a wire rack until it reaches room temperature, about 1 hour, then refrigerate (loosely covered once cool) for at least 3 hours, or overnight, until fully chilled and set.
- When you’re ready to serve, run a thin knife along the two unlined short ends of the pan, then lift the bars out using the parchment sling and set them on a cutting board. Slice into 24 squares (6 rows by 4 rows), wiping the knife clean with a damp paper towel between cuts for the prettiest edges. Dust with an optional sprinkle of confectioners’ sugar just before serving.