

Easy Mini Cheesecakes with Graham Cracker Crust (Lighter Recipe)

These mini cheesecakes have a smooth, lemon-kissed filling on a buttery graham cracker crust, all in one perfect bite-size package. My lighter version uses a mix of light cream cheese and part-skim ricotta, so you get rich, classic cheesecake flavor with less saturated fat and fewer calories than the traditional version. No springform pan, no water bath, and no fancy equipment. You don’t even need a mixer. A regular muffin tin and a food processor, blender, or good old-fashioned spatula do all the work.
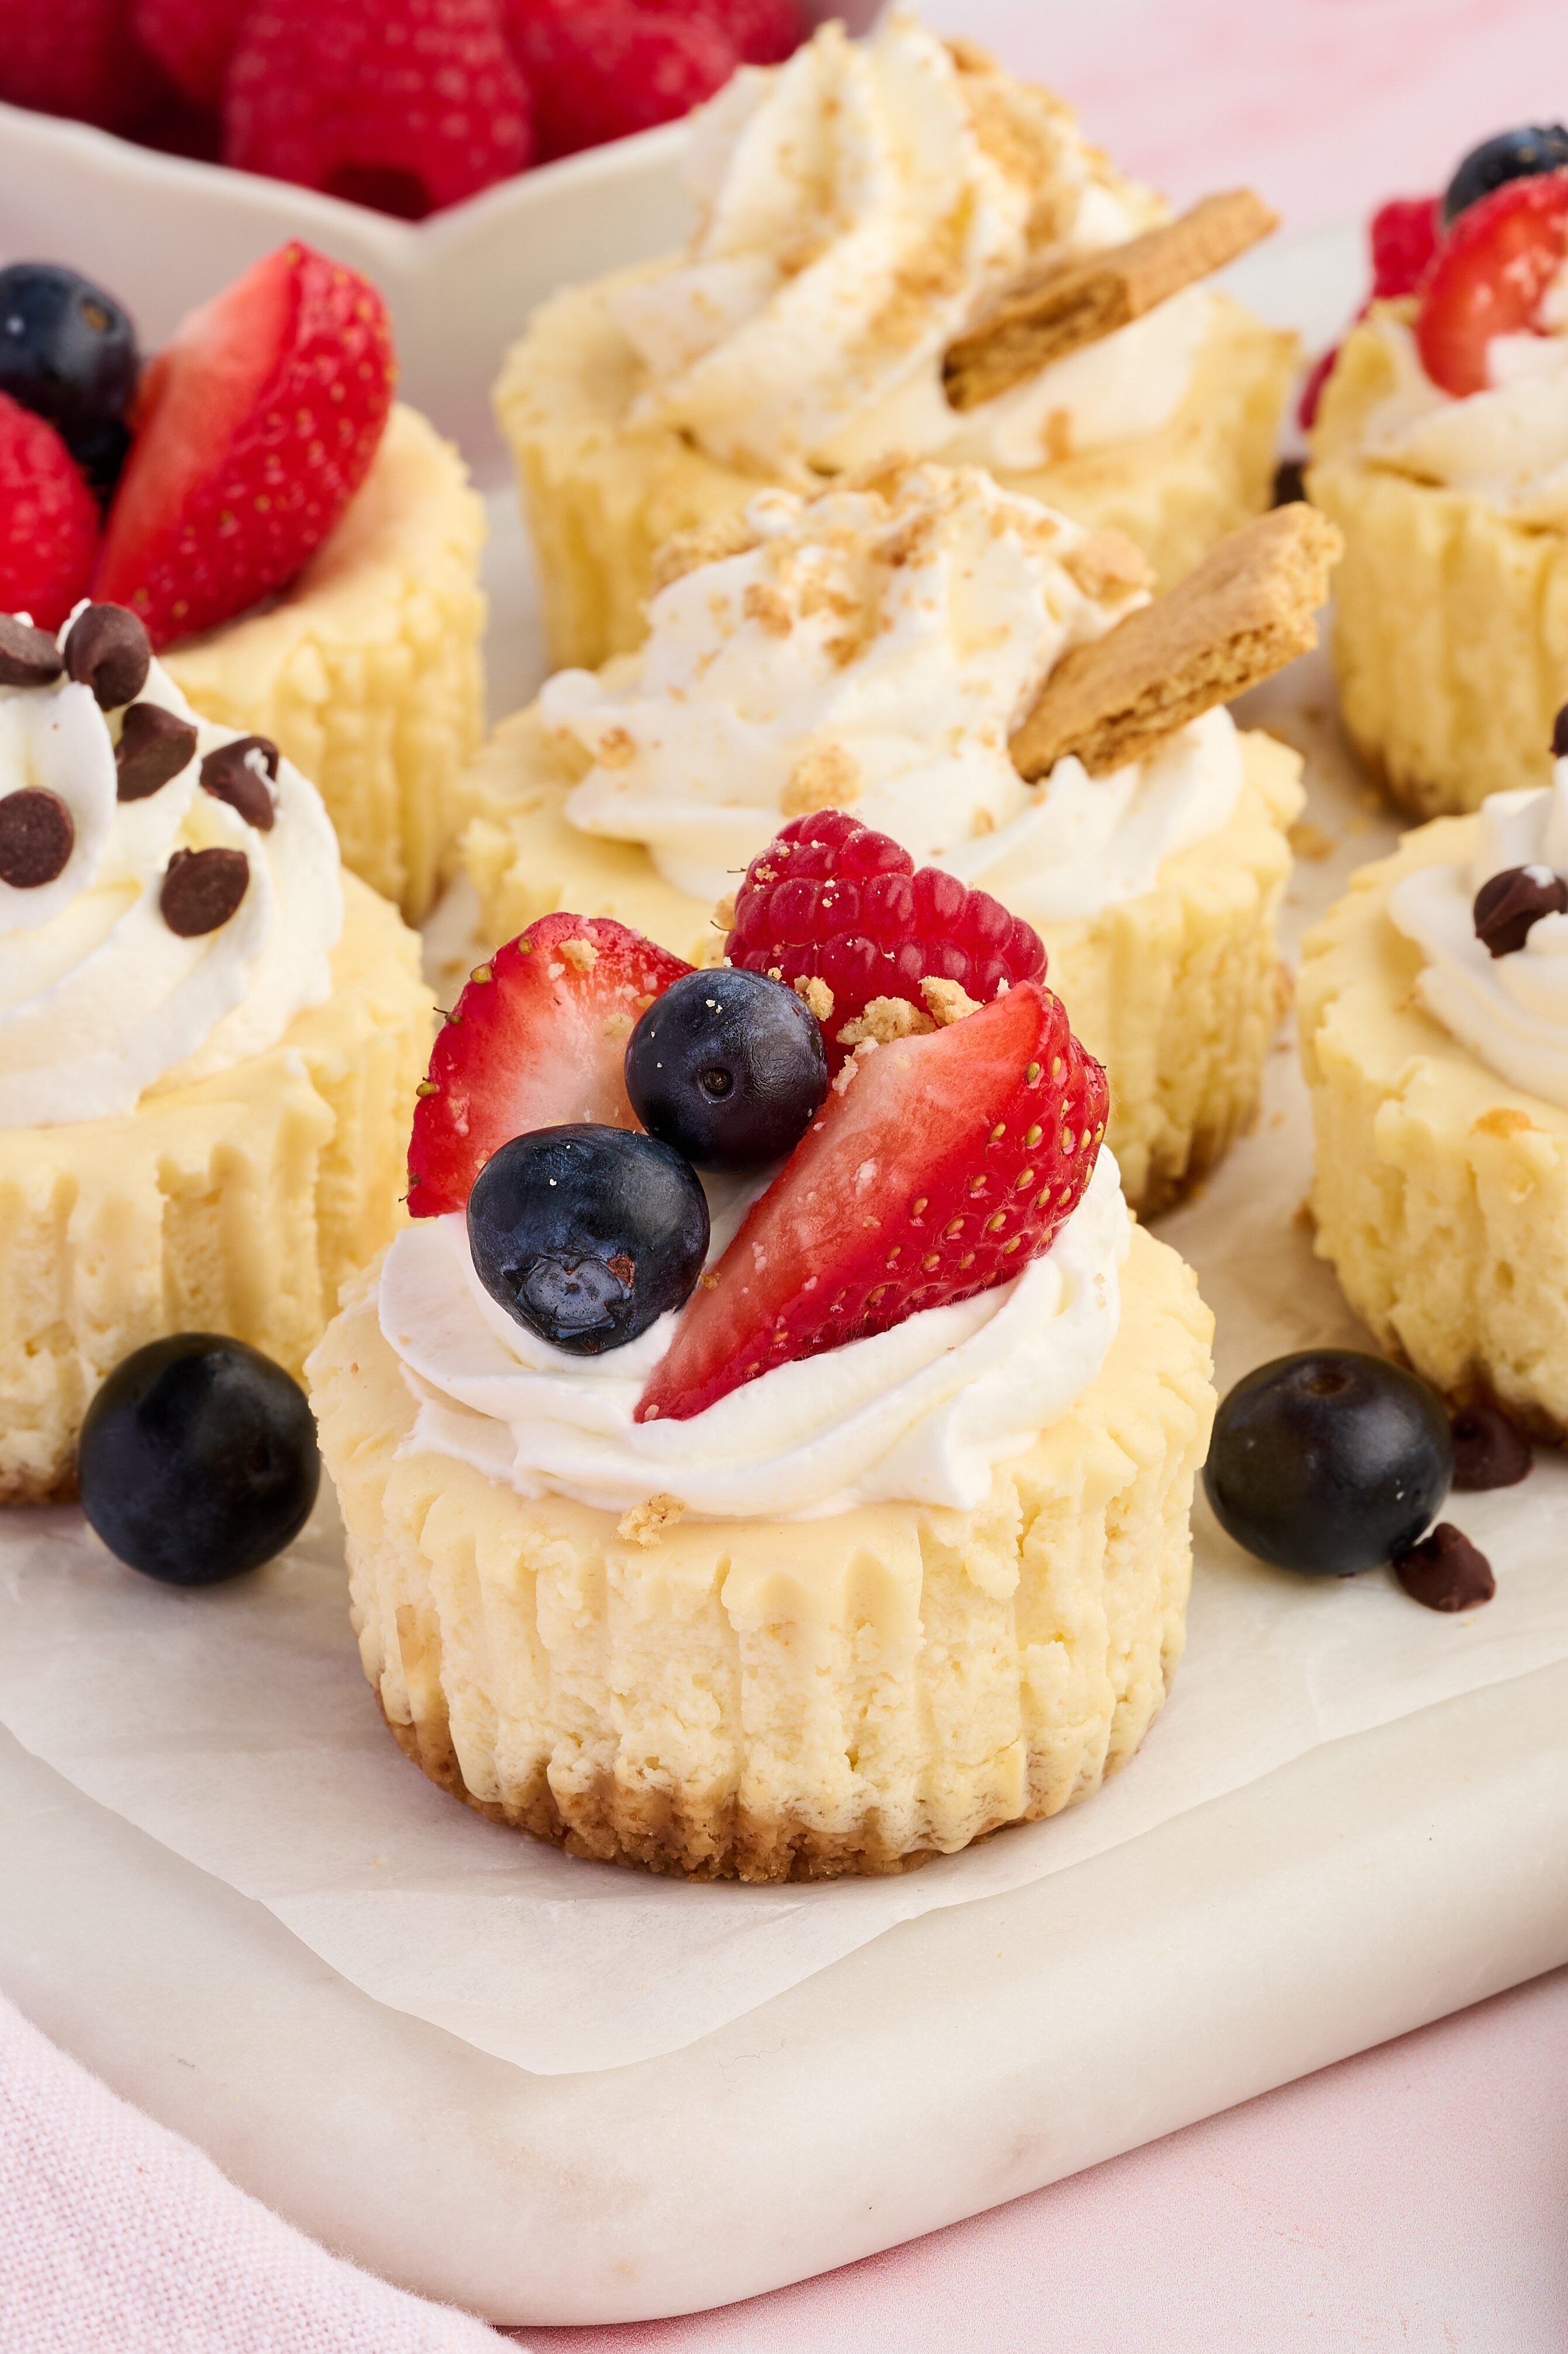
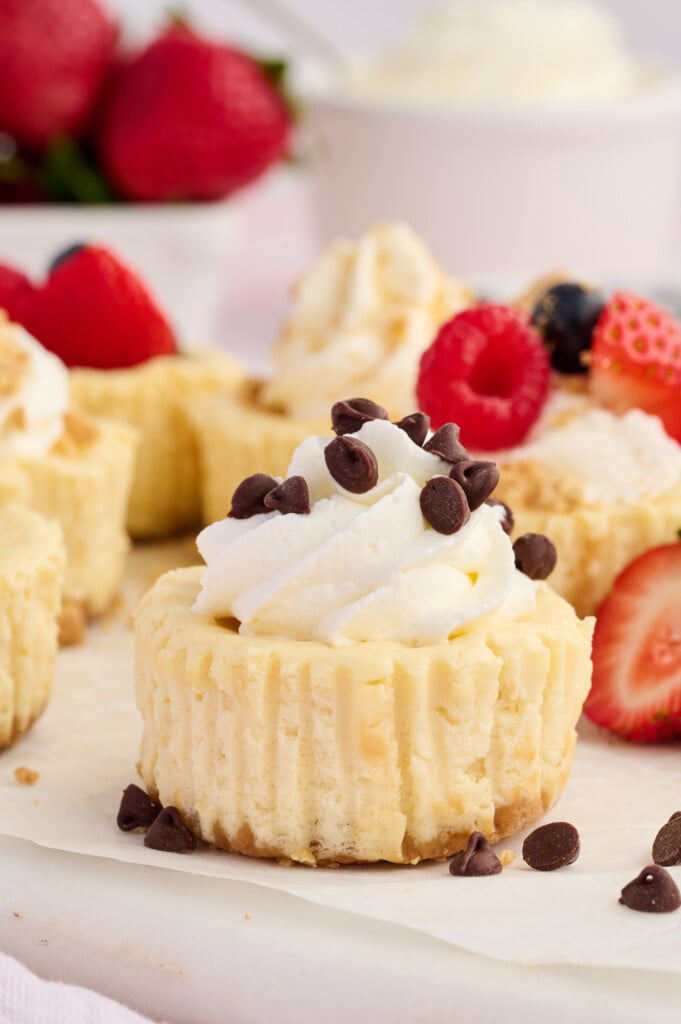
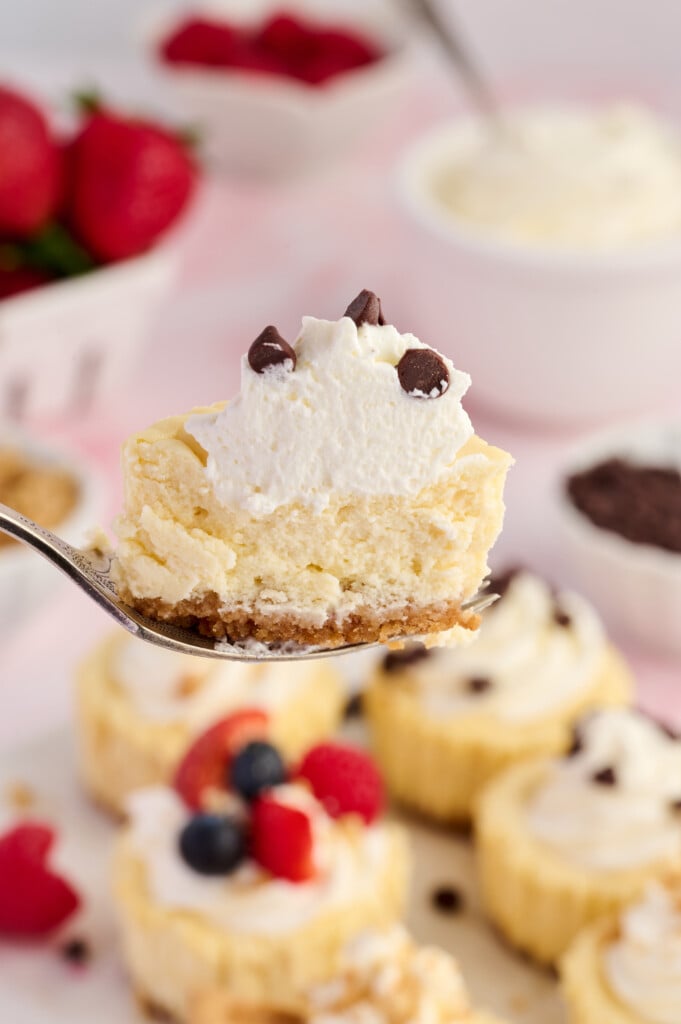
I’m here to tell ya that good things really do come in small packages! Here’s some proof: Mini Cookie Dough Ice Cream Sandwiches, Mini Pecan Pies and Banana Cream Pies (in dates!), Chocolate PB Cups, Single-Serve Apple Pie and Superfood Brownie Bites…
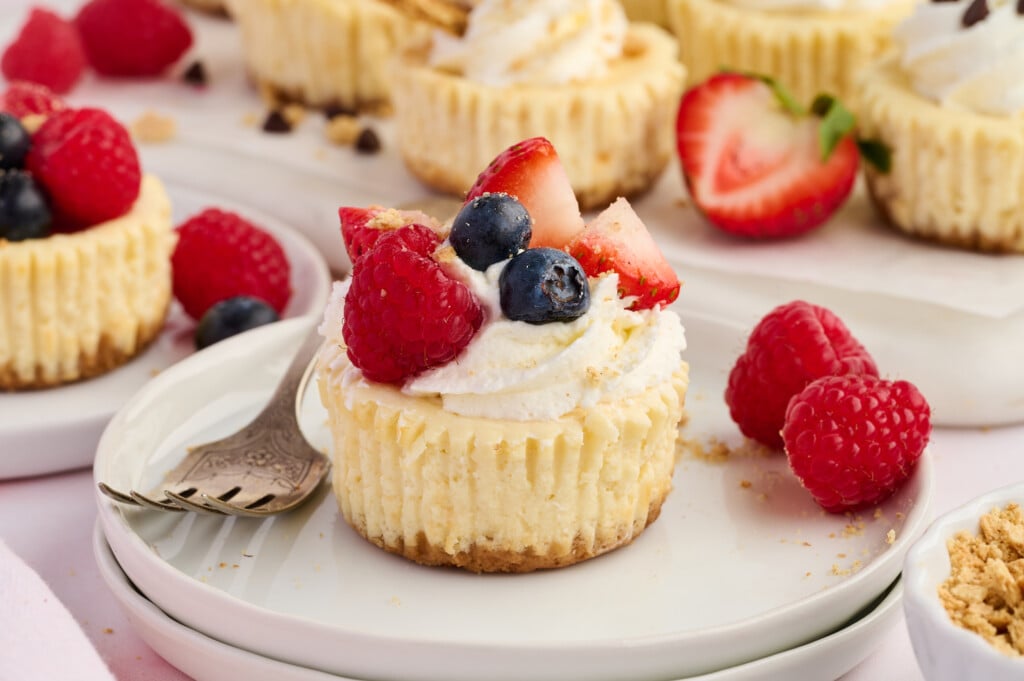
As for these mini cheesecakes, each one brings that classic combo we all love: a crumbly graham cracker crust, smooth cheesecake filling, and a topping moment that lets everyone make it their own—fresh berries, whipped cream, chocolate chips, extra crumbs… there’s no wrong move.
Step 1: Prepare the crust
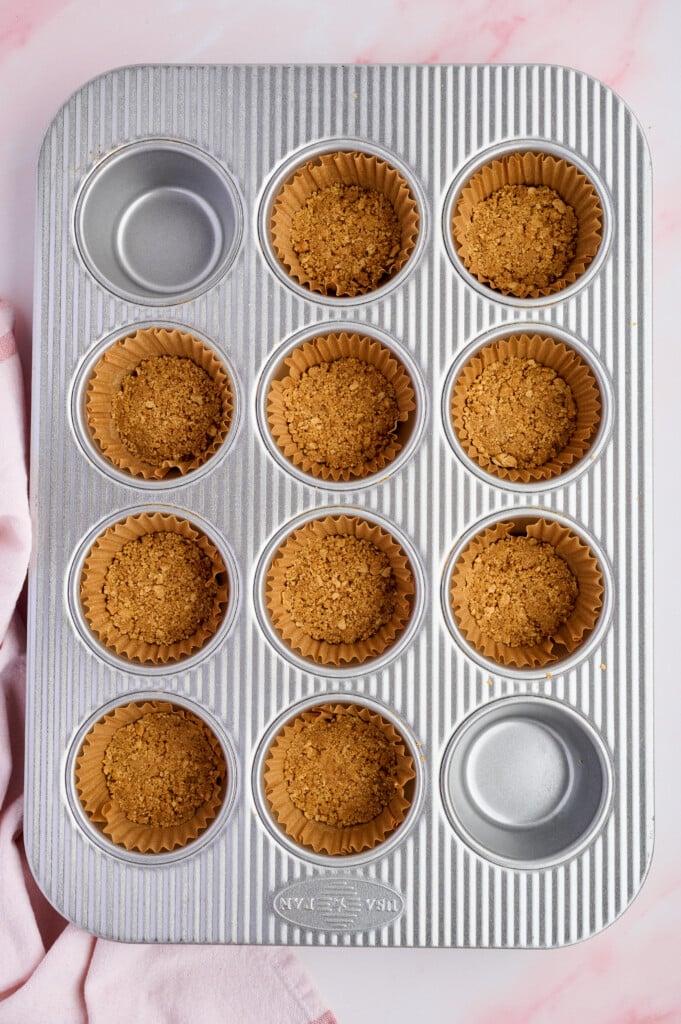
Step 2: Make the filling
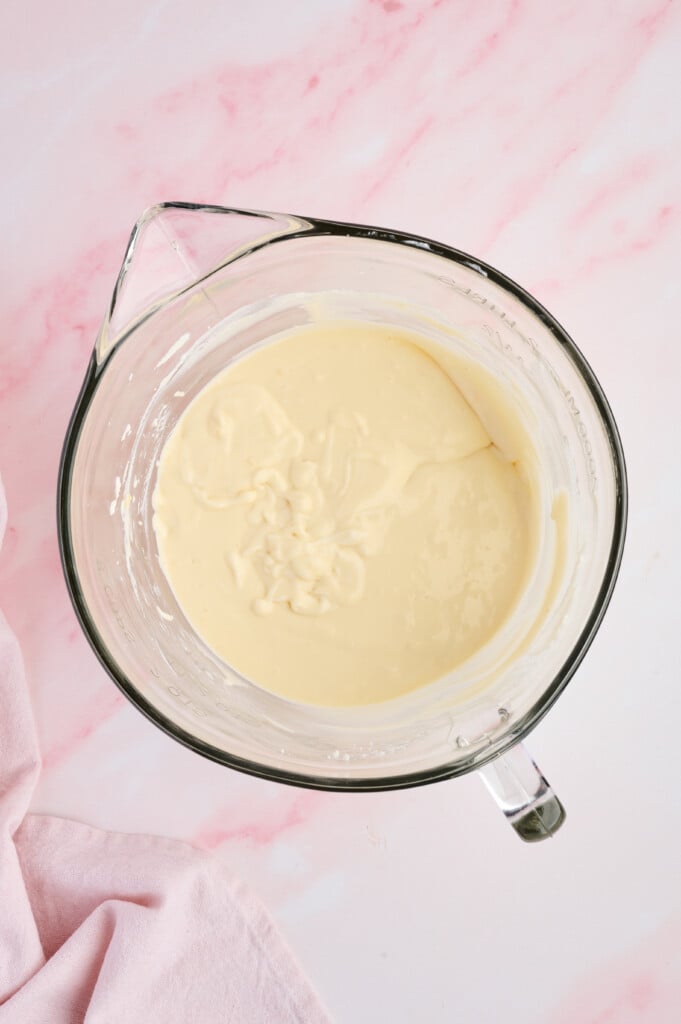
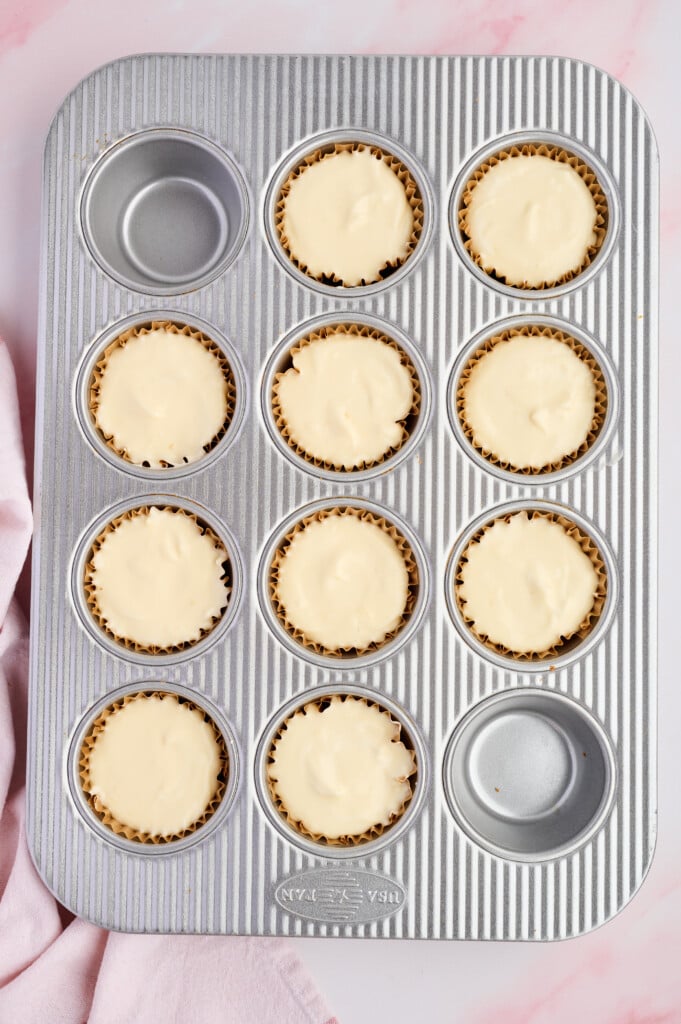
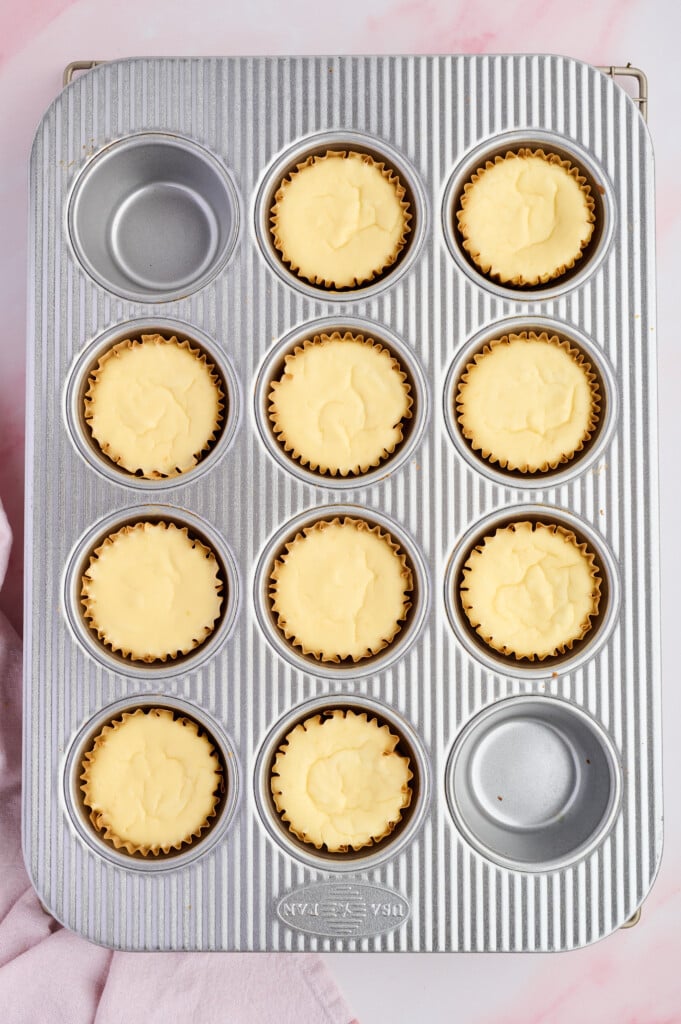
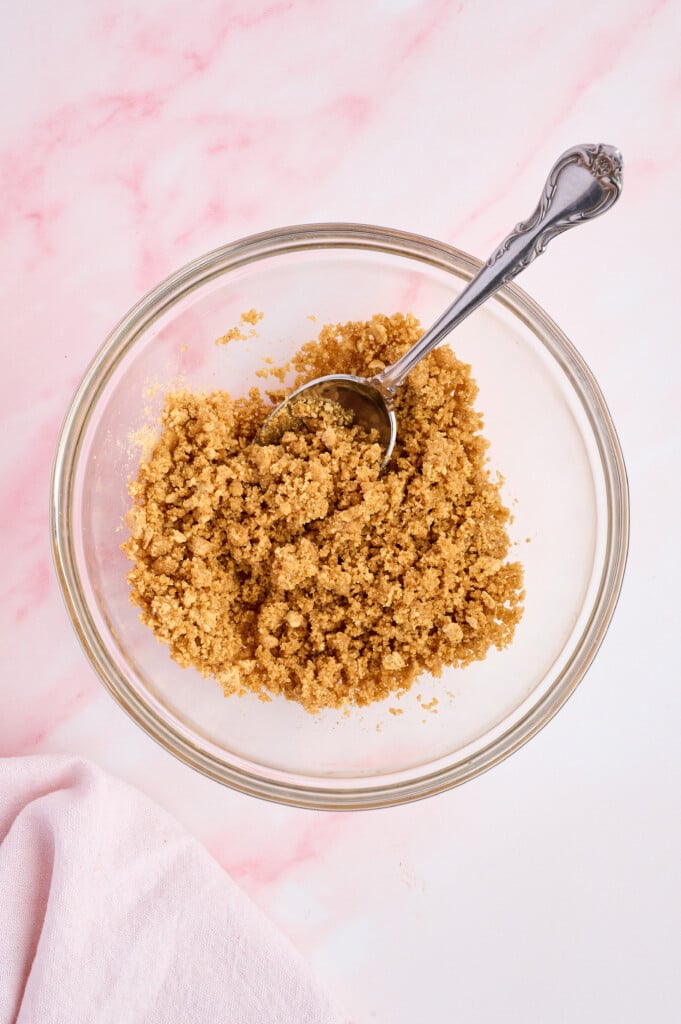
Here’s my favorite way to make them: I use my food processor for the entire recipe. First, I pulse the graham crackers into a fine powder, then pour in the melted butter and pulse again until it’s mixed through. (I always remove the blade and use a spoon to stir in any butter that got trapped underneath.) After pressing the crumbs into the liners, I give the processor bowl a quick rinse and make the filling in it while the crusts bake. You don’t even have to rinse and dry it if you’d rather skip that step. A few stray graham crumbs in the batter won’t hurt one bit. Everything goes in except the egg, which I add at the very end so the batter doesn’t get overmixed. One machine, minimal cleanup.
A quick but important note before you start: Give yourself time to chill. The cheesecakes mix up in minutes, but they need at least 2 hours in the fridge to set to that classic dense texture. They’re a wonderful make-ahead dessert, so feel free to bake them the day before.
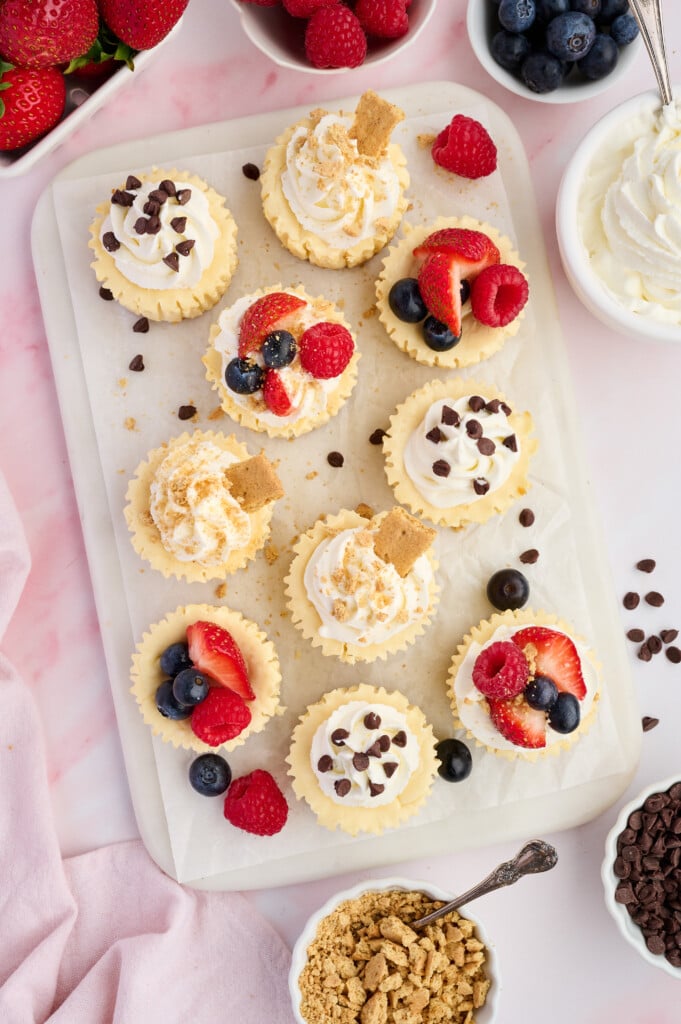
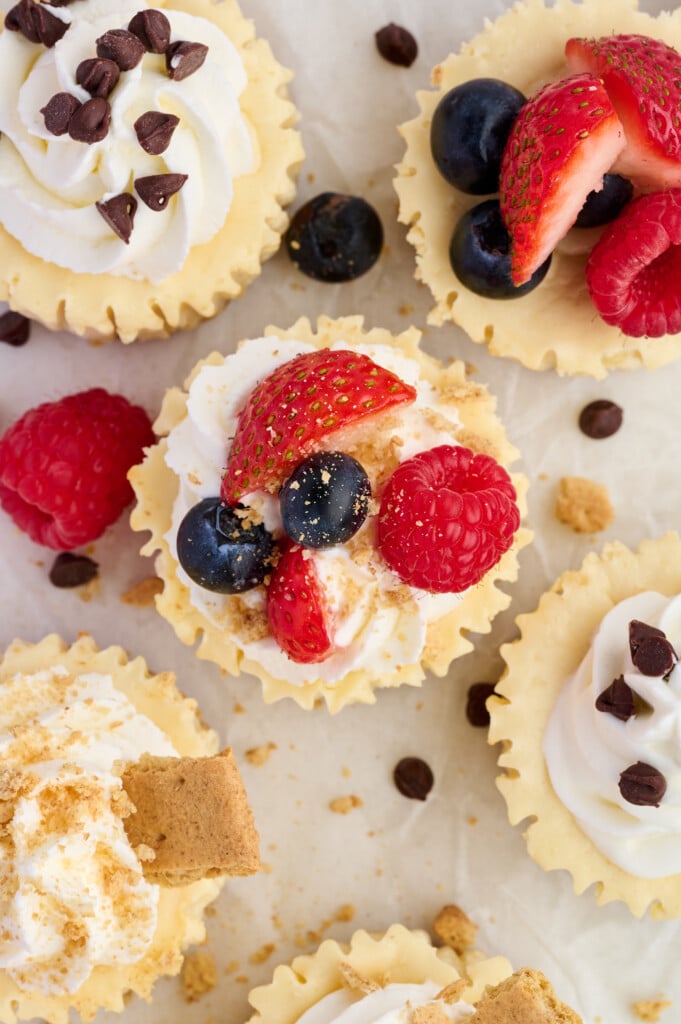
I have a soft spot for desserts that come in their own portions, and these yummy treats are always a hit at parties. Last winter I brought a tray to a holiday open house, set them out with a bowl of sliced strawberries and a few other toppings (like shredded coconut, mini chocolate chips, and whipped cream), and let everyone build their own. They were gone before the coffee finished brewing, and two people asked for the recipe before they’d even put their coats on.
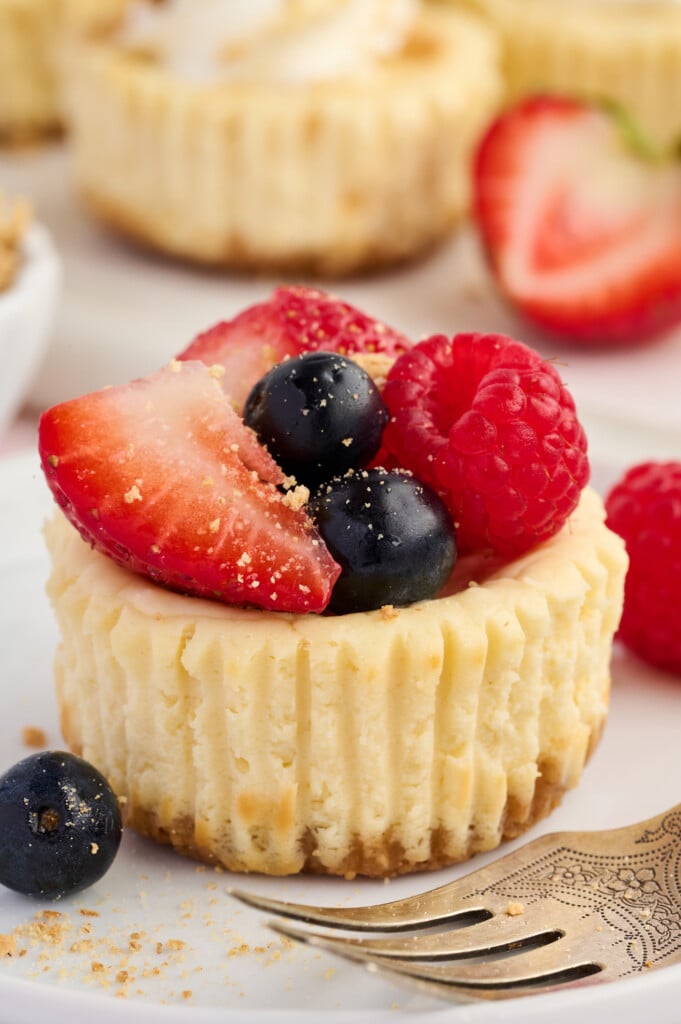
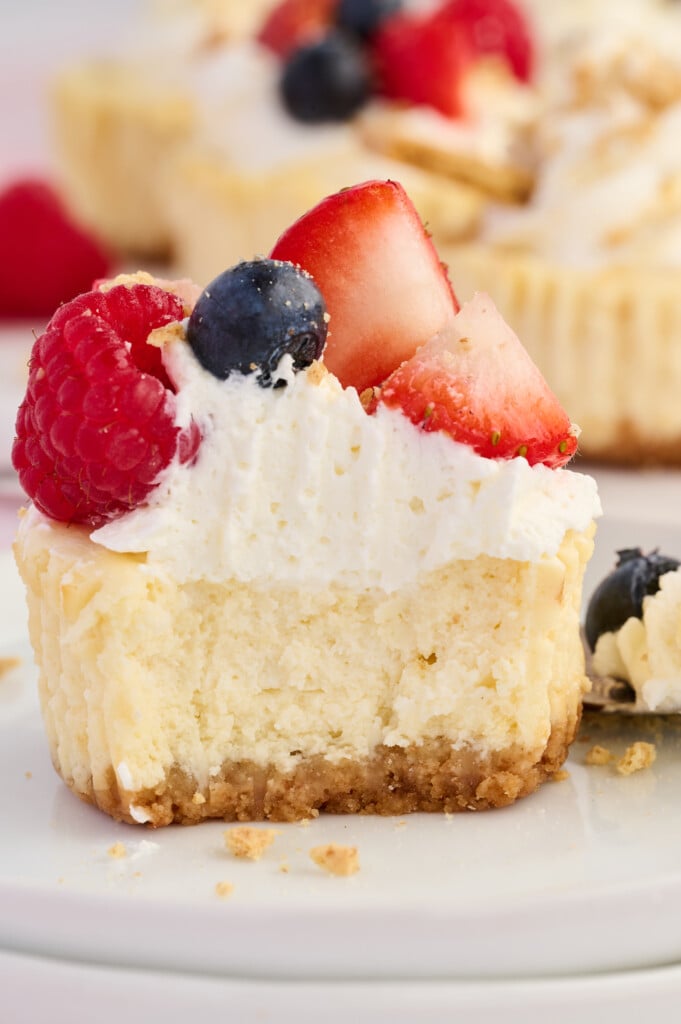
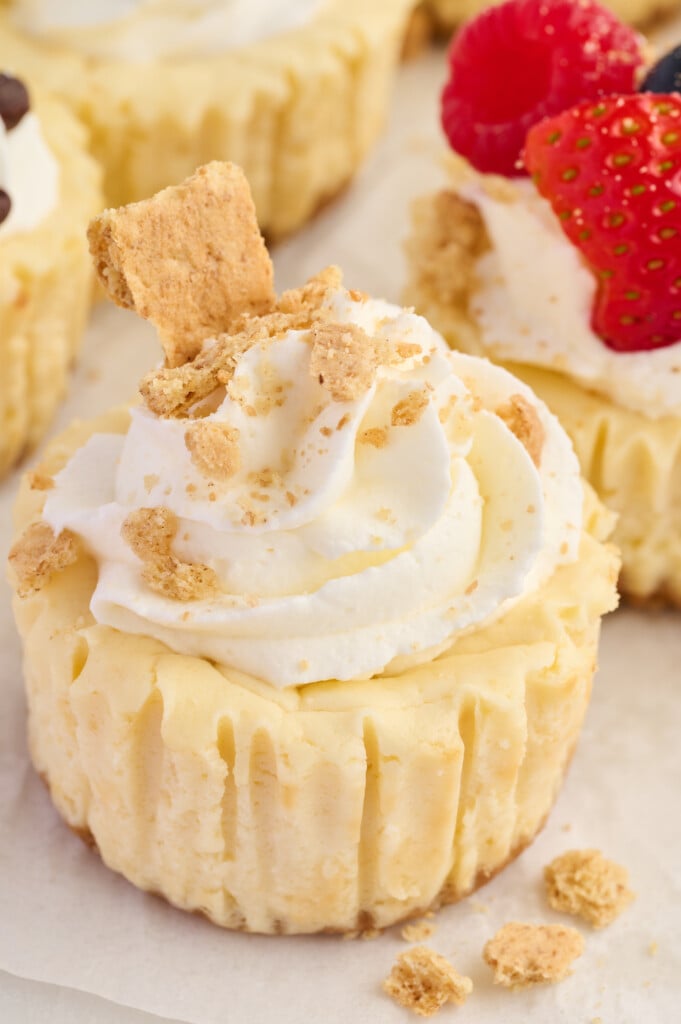
These fit right into my happy little dessert lineup— where sweet treats feel fun and special, while still being totally doable at home. As a dietitian, I love the built-in portion setup here: no slicing, no guessing, just a perfectly petite cheesecake ready to enjoy. And when the dessert is already a single serving, it’s easy to enjoy one (or two!) and feel completely satisfied.
If you love cheesecake, try some of my other variations: Strawberry Cheesecake Dates, Cheesecake Brownie Bites, and Mini Pumpkin Cheesecakes!
Want more sweets? Try this Chocolate Mug Cake next!
Easy Mini Cheesecakes with Graham Cracker Crust (Lighter Recipe)
Ingredients
For the graham cracker crust:
- 4 full sheets graham crackers, finely crushed
- 2 tablespoons butter, melted
For the cheesecake filling:
- 1 cup (8-ounces) light cream cheese, softened to room temperature
- 1 cup part-skim ricotta cheese
- ⅓ cup sugar
- 1 teaspoon vanilla extract
- 1 teaspoon fresh lemon juice
- ½ teaspoon lemon zest, zest the lemon before juicing
- ¼ teaspoon kosher salt
- 1 large egg, at room temperature
- Optional toppings: fresh sliced strawberries or other berries, crushed graham crackers, shredded coconut, whipped cream, or semi-sweet mini chocolate chips
Instructions
- Preheat the oven to 325°F. Line a standard muffin tin with 10 paper liners and lightly mist the insides of the liners with nonstick oil spray (this helps them peel away cleanly later).
Make the crust
- Add the graham crackers to a food processor and pulse into fine crumbs. Finer crumbs make a crust that holds together better. Pour in the melted butter and pulse again until it's mixed through. Remove the blade and use a spoon to stir in any butter that got trapped underneath, until all the crumbs are evenly moistened and look like wet sand. (No food processor? Crush the graham crackers in a bowl with the bottom of a sturdy mug, then stir in the melted butter.)
- Divide the crumb mixture evenly among the 10 liners. Press each one firmly into an even layer with the back of a spoon. Bake for 5 to 6 minutes, until fragrant and lightly golden. Make the filling while the crusts bake, then set the tin aside when they come out (keep the oven on).
Make the filling (choose your method)
- Food processor or blender (my favorite no-mixer method): If you used the food processor for the crust, give the bowl a quick rinse and dry, or skip it entirely. A few graham crumbs in the batter are no problem. Add the softened cream cheese, ricotta, sugar, vanilla, lemon juice, lemon zest, and salt (everything except the egg). Process until completely smooth, about 30 to 60 seconds, stopping once to scrape down the sides if needed. Add the egg last and pulse just 3 or 4 times, until it's blended in, so the batter isn't overmixed.Hand mixer: In a large bowl, beat the cream cheese on medium-low speed for about 1 minute, until smooth. Add the ricotta and beat another minute, scraping down the bowl. Add the sugar, vanilla, lemon juice, lemon zest, and salt and beat until combined. Add the egg last and mix on low just until it disappears into the batter.By hand: In a large bowl, mash the very soft cream cheese with a sturdy spatula or wooden spoon, pressing it against the sides of the bowl until smooth and lump-free. Stir in the ricotta, then switch to a whisk and add the sugar, vanilla, lemon juice, lemon zest, and salt, whisking until smooth. Whisk in the egg just until combined.Whichever method you use, avoid overmixing once the egg goes in. Whipping in extra air causes the cheesecakes to puff up in the oven and then sink or crack as they cool.
Make the cups
- Spoon the filling evenly over the crusts, filling each liner all the way to the top, and smooth the tops with the back of a spoon. Gently tap the tin on the counter a few times to release any air bubbles. Carefully transfer the tin to the oven, keeping it level so the filling doesn’t spill over. (You may prefer to set the muffin tin on a baking sheet to catch any drips.)
- Bake for 18 to 20 minutes, until the edges look set and the centers still have a slight jiggle when you gently nudge the pan. Don’t wait for the centers to firm up in the oven; they’ll finish setting as they cool and chill.
- Cool the cheesecakes in the muffin tin on a wire rack for 30 minutes, then transfer the tin to the refrigerator and chill for at least 2 hours, or overnight, until fully set.
- Once chilled, lift the cheesecakes out of the tin and peel away the liners (or serve them right in the liners for easy grab-and-go). Add your favorite toppings just before serving!

I made these for Easter and they were delicious ! The pumpkin mini cheesecakes are delicious too! I love your recipes and segments on the Today Show. !
Hi Eileen, thanks for sharing the love (and for watching Joy on the TODAY show!). We’re thrilled you enjoyed the cheesecake recipe—they’re great for holidays!
—Donna
For the sugar can I substitute monk fruit?
Yes, Tammy! I’m just not sure what the exact amounts will be for this monk fruit (or stevia) swap. If you try it, please let me know how it turns out. Hoping it’s a winner!
Can these mini cheesecakes be made in advance and frozen?
Eileen, what a smart idea to prep these ahead! I haven’t tested freezing them yet, but I’m going to try it on my end this week and will report back. In the meantime, cheesecake usually freezes well. Once they’re fully chilled, wrap them individually or store them in an airtight container, and skip the toppings for now. Thaw them overnight in the fridge, then add your toppings right before serving. Since the filling includes ricotta, the texture may turn slightly less creamy after freezing. If you try it before I do, let me know how they turn out! xx
Thank you! I appreciate your response. I have not had a chance to try freezing the mini cheesecakes yet but would love to know the outcome if you do try it .
Eileen
Is cottage cheese a good substitute for ricotta cheese?
Hi Mari! I haven’t tested it, but cottage cheese should work. If there’s any liquid on top, pour it off, then use the food processor or blender method and process until it’s completely smooth with no curds left. Hoping you love this cheesecake spin! xx