Crispy Baked Zucchini Chips
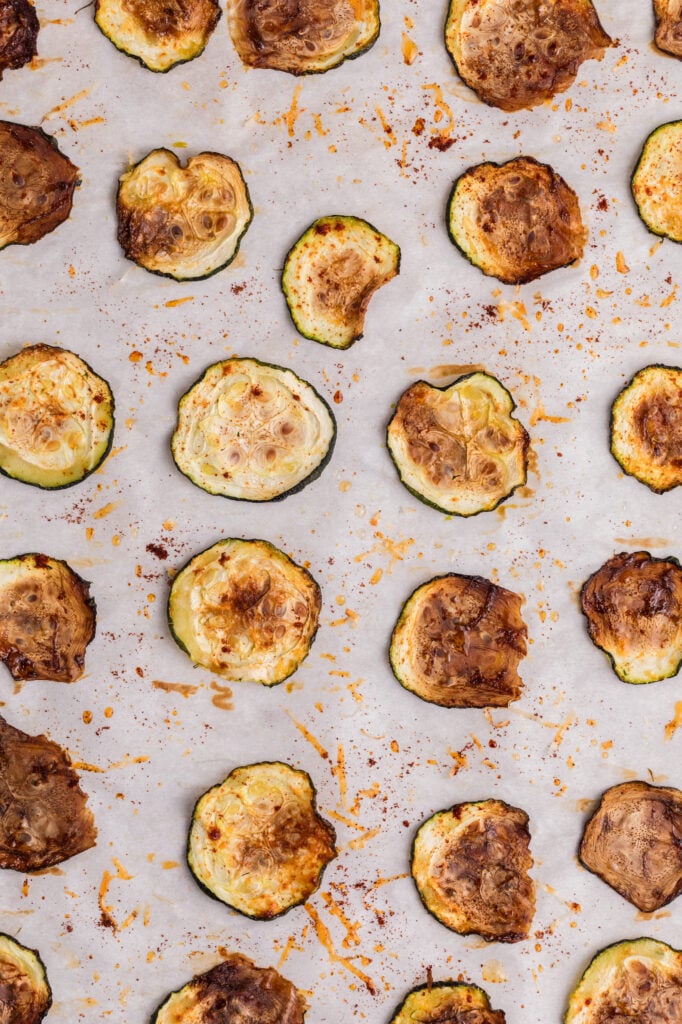
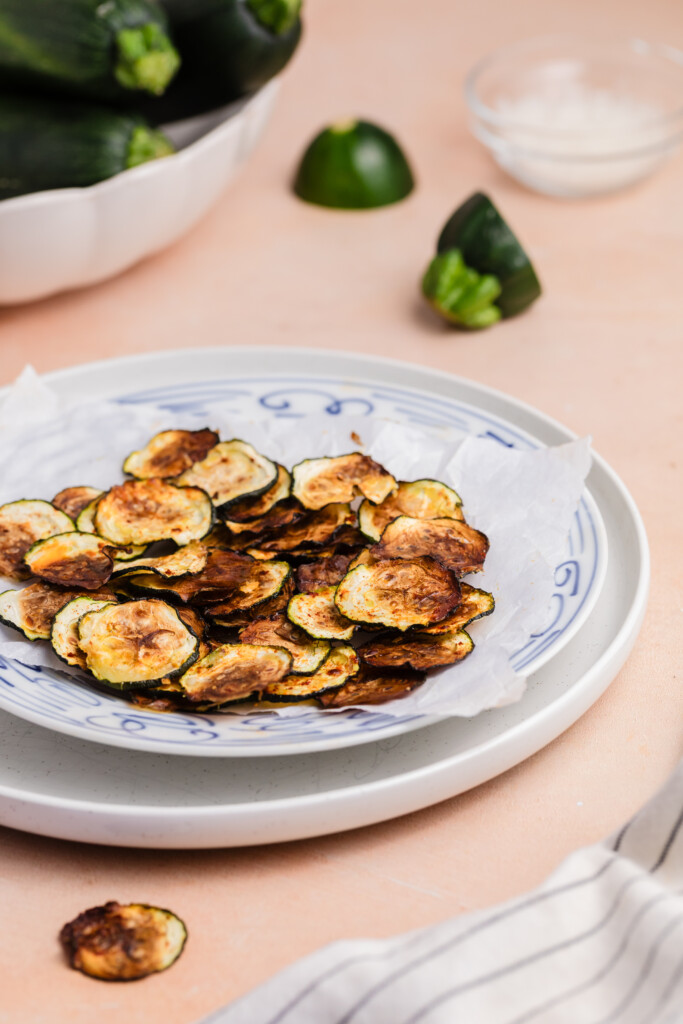
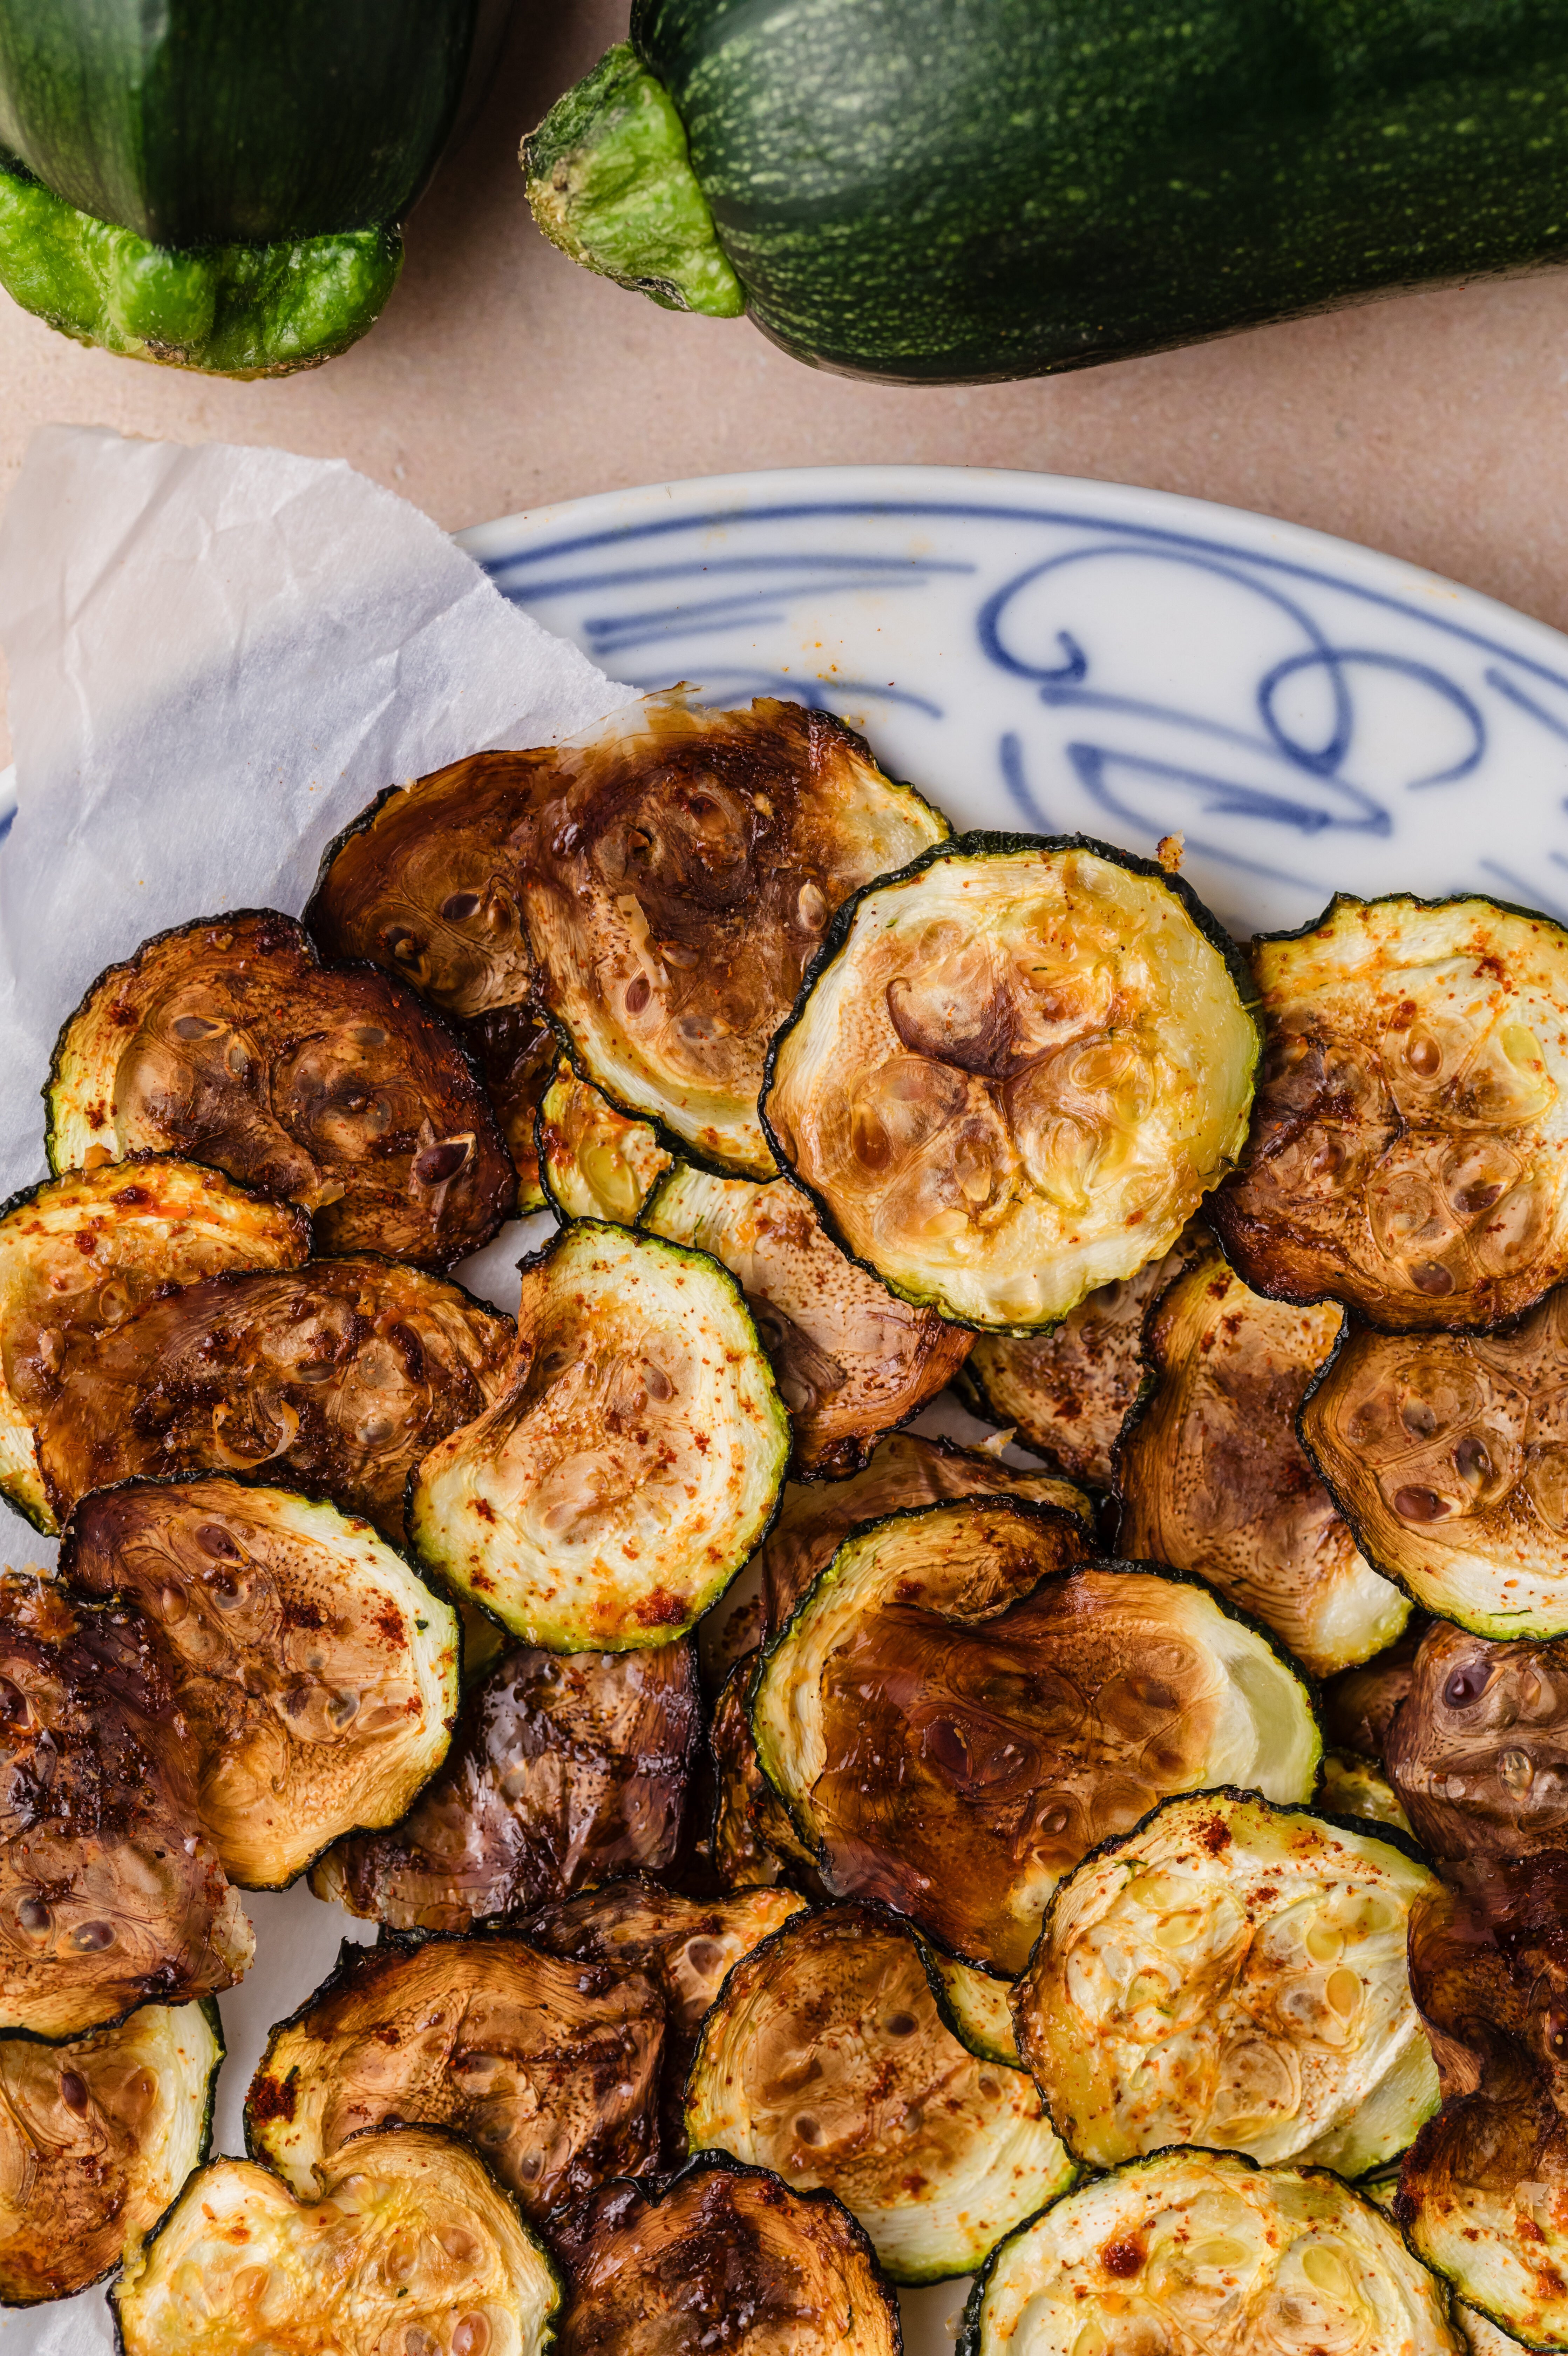
There’s something so satisfying about a crispy, salty chip moment… and these Crispy Baked Zucchini Chips deliver in the best way. They’re light, golden, and irresistibly crunchy — exactly the kind of healthy snack you can munch on by the handful.

Save this recipe for later!
I love making these homemade zucchini chips when I’m craving something crunchy and fun, but also want to use up a zucchini in a creative way. It’s the perfect method to turn a humble vegetable into something seriously crave-worthy. A little salt, a light mist of oil, and an optional shower of Parmesan or your favorite spices… that’s all it takes to make the best baked zucchini chips. Oh, and you will need a good amount of time at home, because they have to sit in the oven for more than an hour.

And let’s talk dipping!
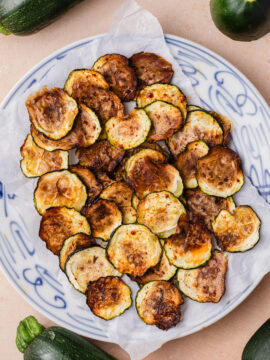
These crispy zucchini chips are practically begging to be dunked! They’re terrific alongside my Caramelized Onion Dip,Creamy Guacamole, Savory Greek Yogurt Dip, or Buffalo Cottage Cheese Dip, Tzatziki or my Healthy Ranch. Oh and if you’re a heat lover, a side of Sriracha or my Spicy Cashew Dressing will totally hit the spot. However you dip them, one thing’s for sure — these little chips are the ultimate vessel 😉
Of course, you could also enjoy them straight off the pan or serve them alongside lunch or dinner as a fun side dish.
Fair warning: they’re addictively good.
If you have extra baking sheets and don’t mind slicing multiple zucchinis, you may want to double or even triple the recipe — especially if there are other people in the house, because these healthy zucchini chips tend to get gobbled up fast. The only catch is that they really do need to hang out in a low oven for a while, but I think the payoff is so worth it.And if you’re hanging around in the house anyway… It’s the perfect time to make a batch or two!
Try my Cheddar Cheese Crisps and Shoestring Carrot Fries next!
Crispy Baked Zucchini Chips
Ingredients
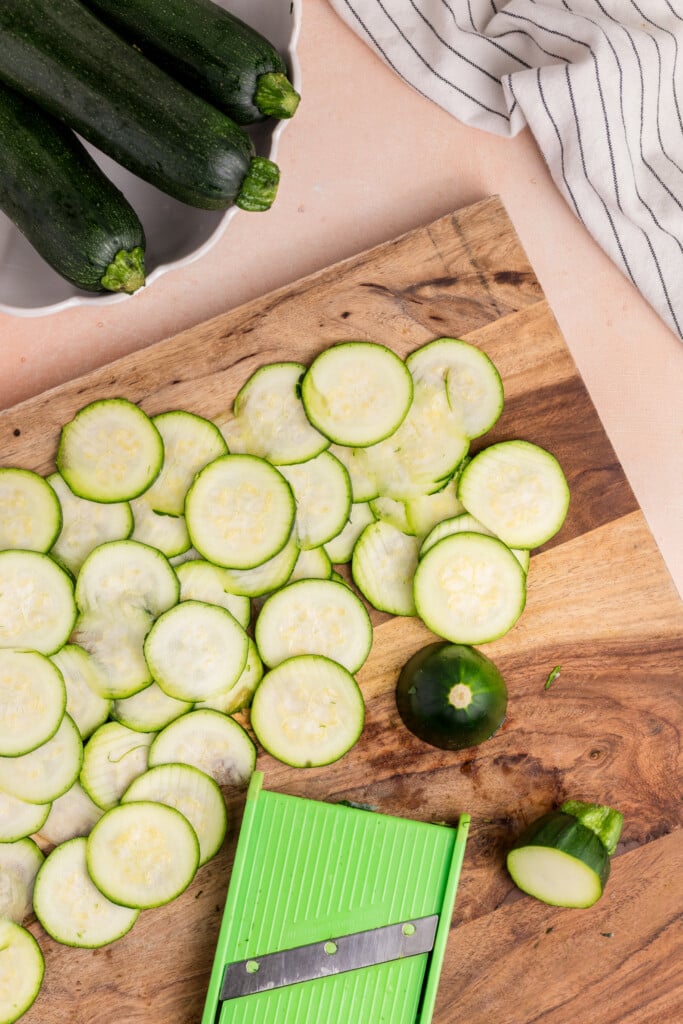
- 1 large zucchini or 2 small-to-medium zucchinis, thinly sliced (about ⅛-inch thick)
- Olive oil spray, or avocado oil spray
- ¼ teaspoon kosher salt, plus more to taste
Optional Seasonings:
- 2 to 3 tablespoons finely grated Parmesan cheese
- ½ teaspoon smoked paprika
- ¼ teaspoon cumin
- ¼ teaspoon garlic powder
- Black pepper, to taste
Instructions
- Preheat the oven and prep sheet pan. Set convection oven to 275°F or regular oven to 250°F. Line 1 half baking sheet (18 x 13 inches) or 2 quarter baking sheets (9 x 13 inches each) with parchment paper and set aside.
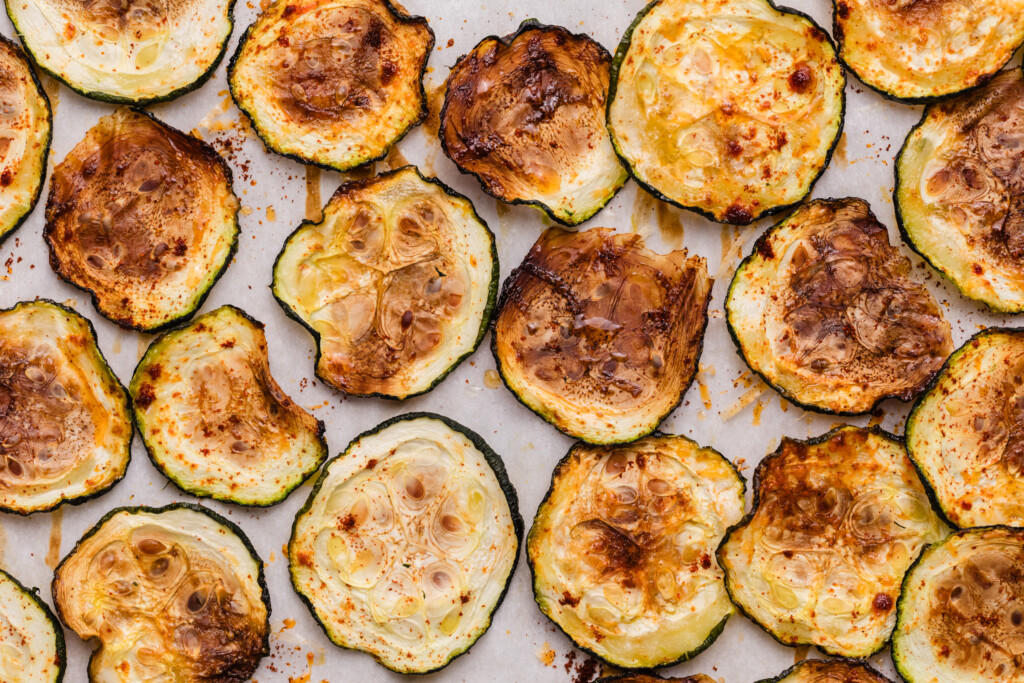
- Slice the zucchini. Use a sharp knife or mandolin to slice the zucchini into thin, even rounds (about ⅛-inch thick for the best crisping).
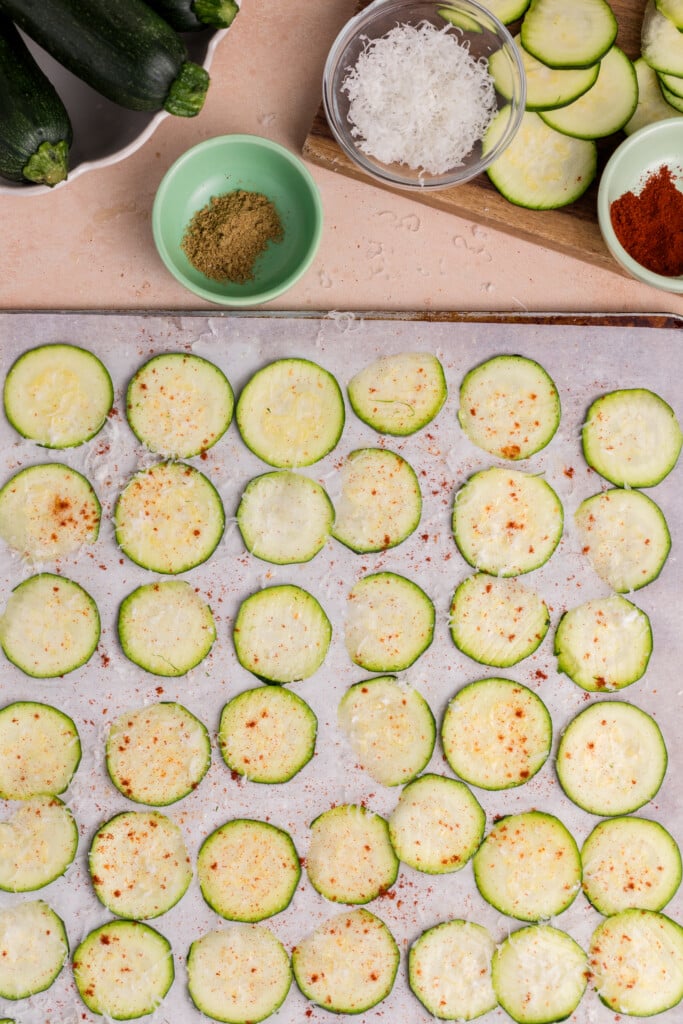
- Arrange on the pan. Lay the zucchini slices in a single layer on the prepared baking sheet(s). The edges can touch, but don’t overlap them.
- Season. Lightly mist the tops with oil spray (don’t overdo it or they’ll become too soggy to crip). Sprinkle evenly with the salt and any optional seasonings you’re using.
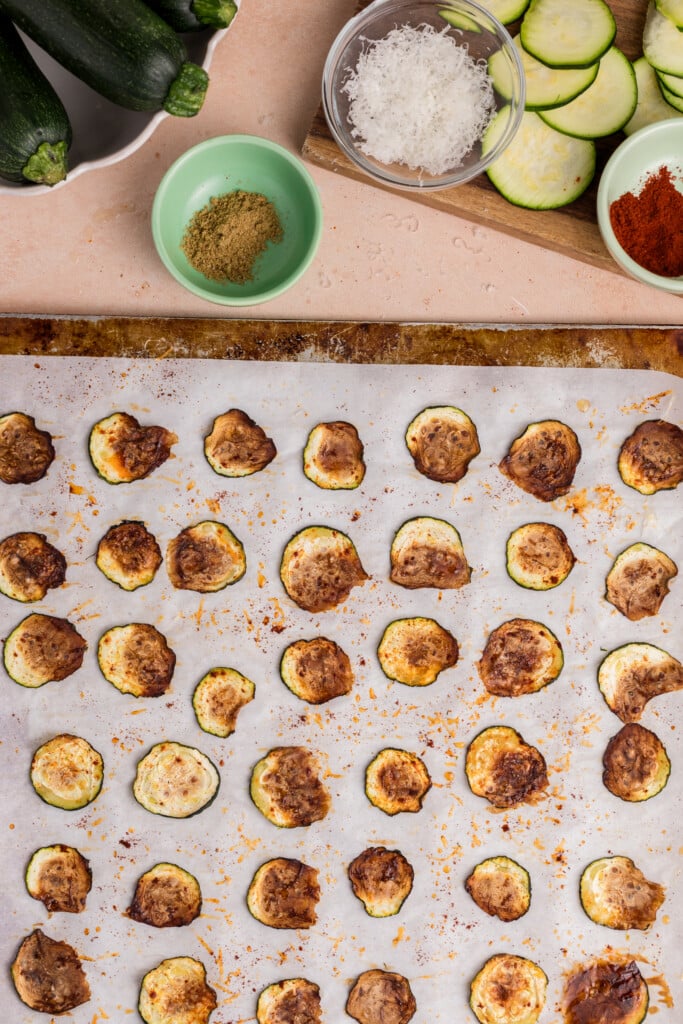
- Bake low and slow. Place in the oven and bake for about 1 hour to 1 hour 15 minutes, until the chips are lightly browned and crisp. If some slices crisp up before others, remove the done ones and leave any softer slices in for a few extra minutes until they crisp. When they’re done, set the pan on the counter and let the chips cool for a few minutes—they’ll continue to crisp up as they sit.
Notes
- Cheesy: Parmesan + black pepper
- Smoky: Smoked paprika + cumin
- Garlicky: Garlic powder + Parmesan
- Spicy: Add a pinch of cayenne or chili powder

These are terrific! They provide the crunch of a potato chip without the oily finish or the calories. We have family members who don’t eat zucchini but loved these and asked for the recipe.
Hi Michael, That’s amazing to hear…thank you for sharing! Love that even the zucchini skeptics were won over…that’s the best compliment. — Eliza (Team Joy)