
Easy Sheet Pan Omelets

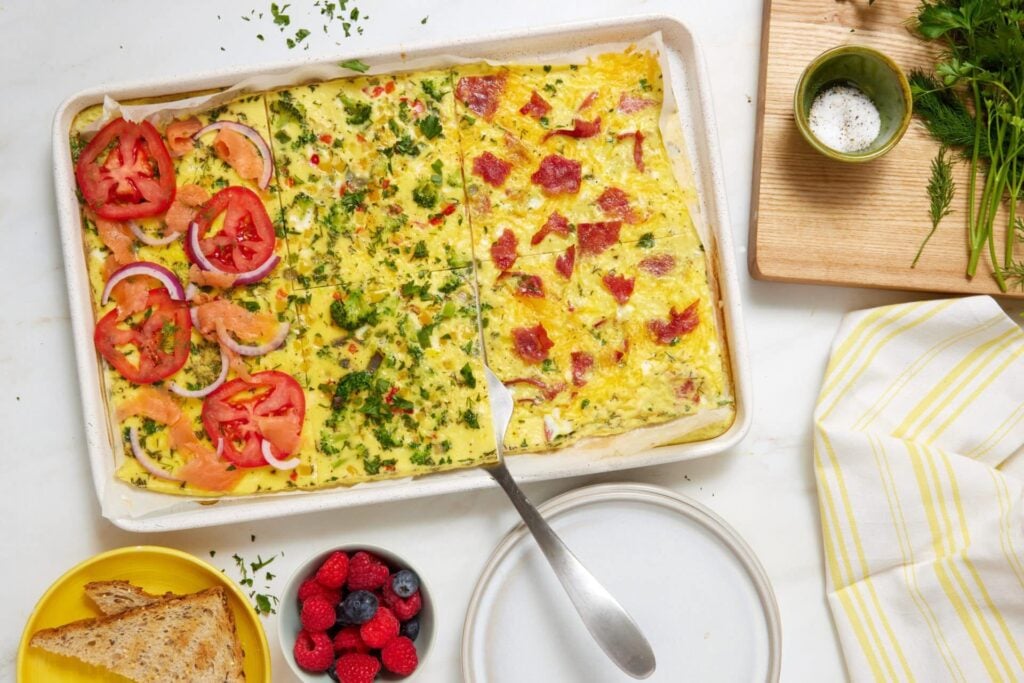
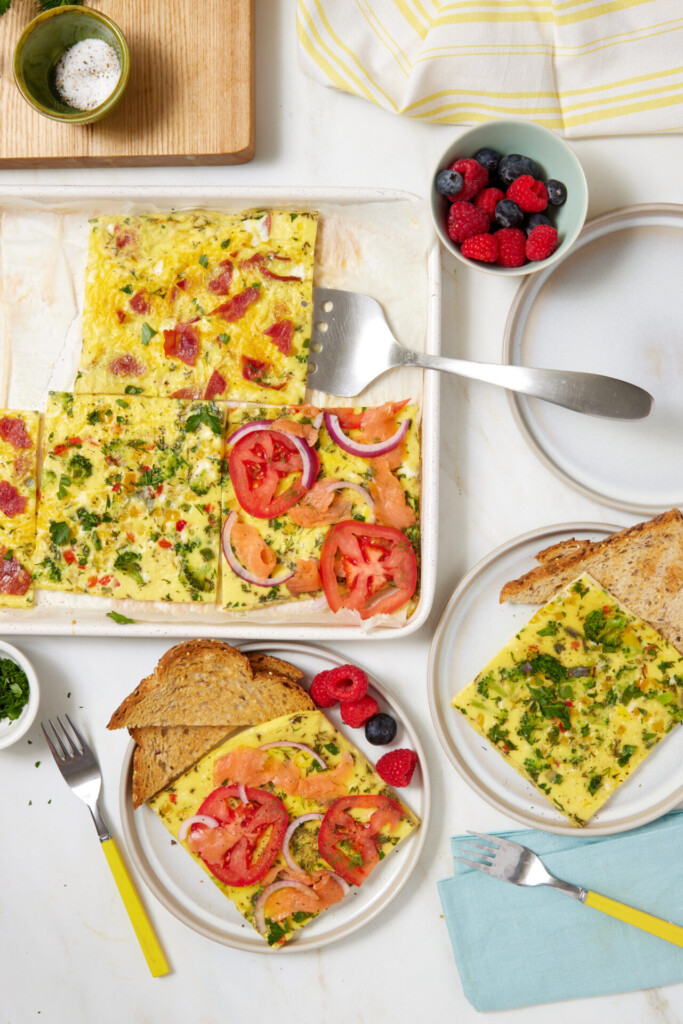
Omelets for six—without flipping, folding or playing short-order cook! These Sheet Pan Omelets bake up fluffy and tender in one pan, and the toppings can be divided into sections so everyone gets their favorite combination. Try a veggie medley, turkey bacon and cheese, or tomato-lox-onion, or raid the fridge and create your own lineup. Seriously, anything goes.
Save This Recipe
I’m always looking for easy ways to bring satisfying protein to the breakfast table, and this recipe delivers: it combines whole eggs with additional egg whites for a lighter base that still packs plenty of staying power. Prefer not to separate eggs? Simply use 10 whole eggs instead. And if quick, egg-cellent breakfasts speak your language, try my Veggie Frittata Muffins, Microwave Western Mug Omelet, 3-Minute Mediterranean Mug Omelet, Spring Frittata with Asparagus and Artichokes, Pizza Mug Omelet, and High-Protein Scrambled Eggs with Cottage Cheese, too.

One pan, endless omelet possibilities
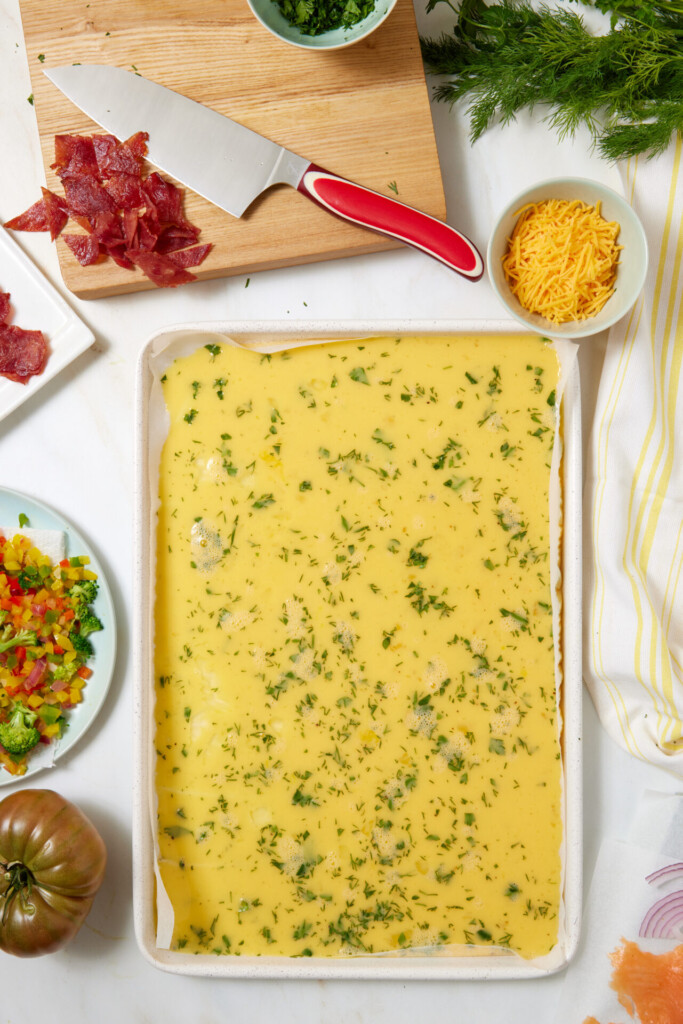
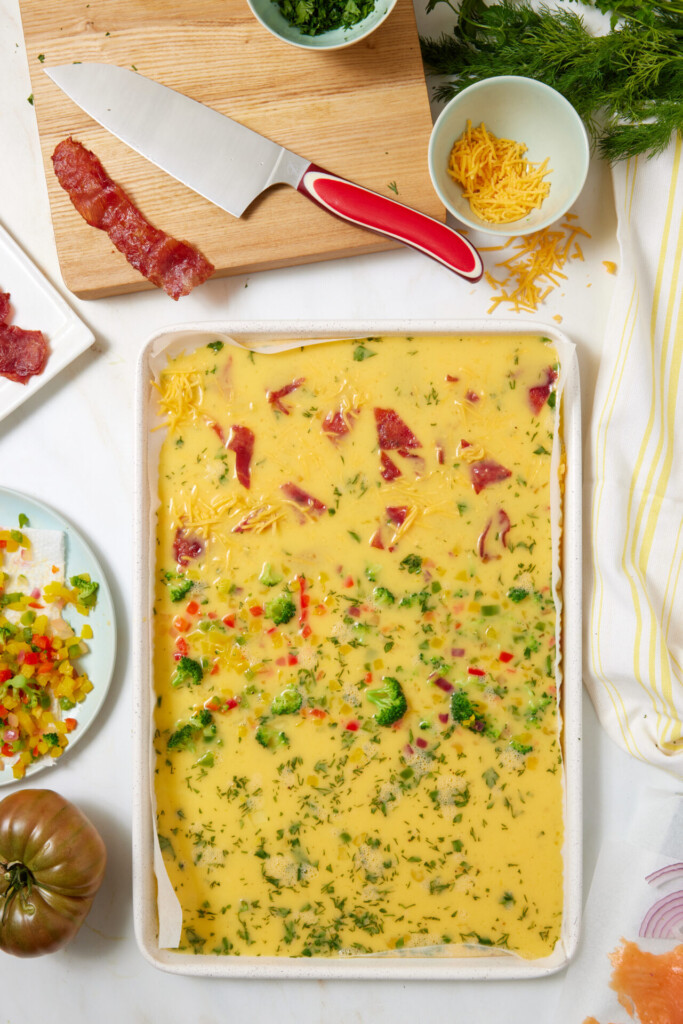
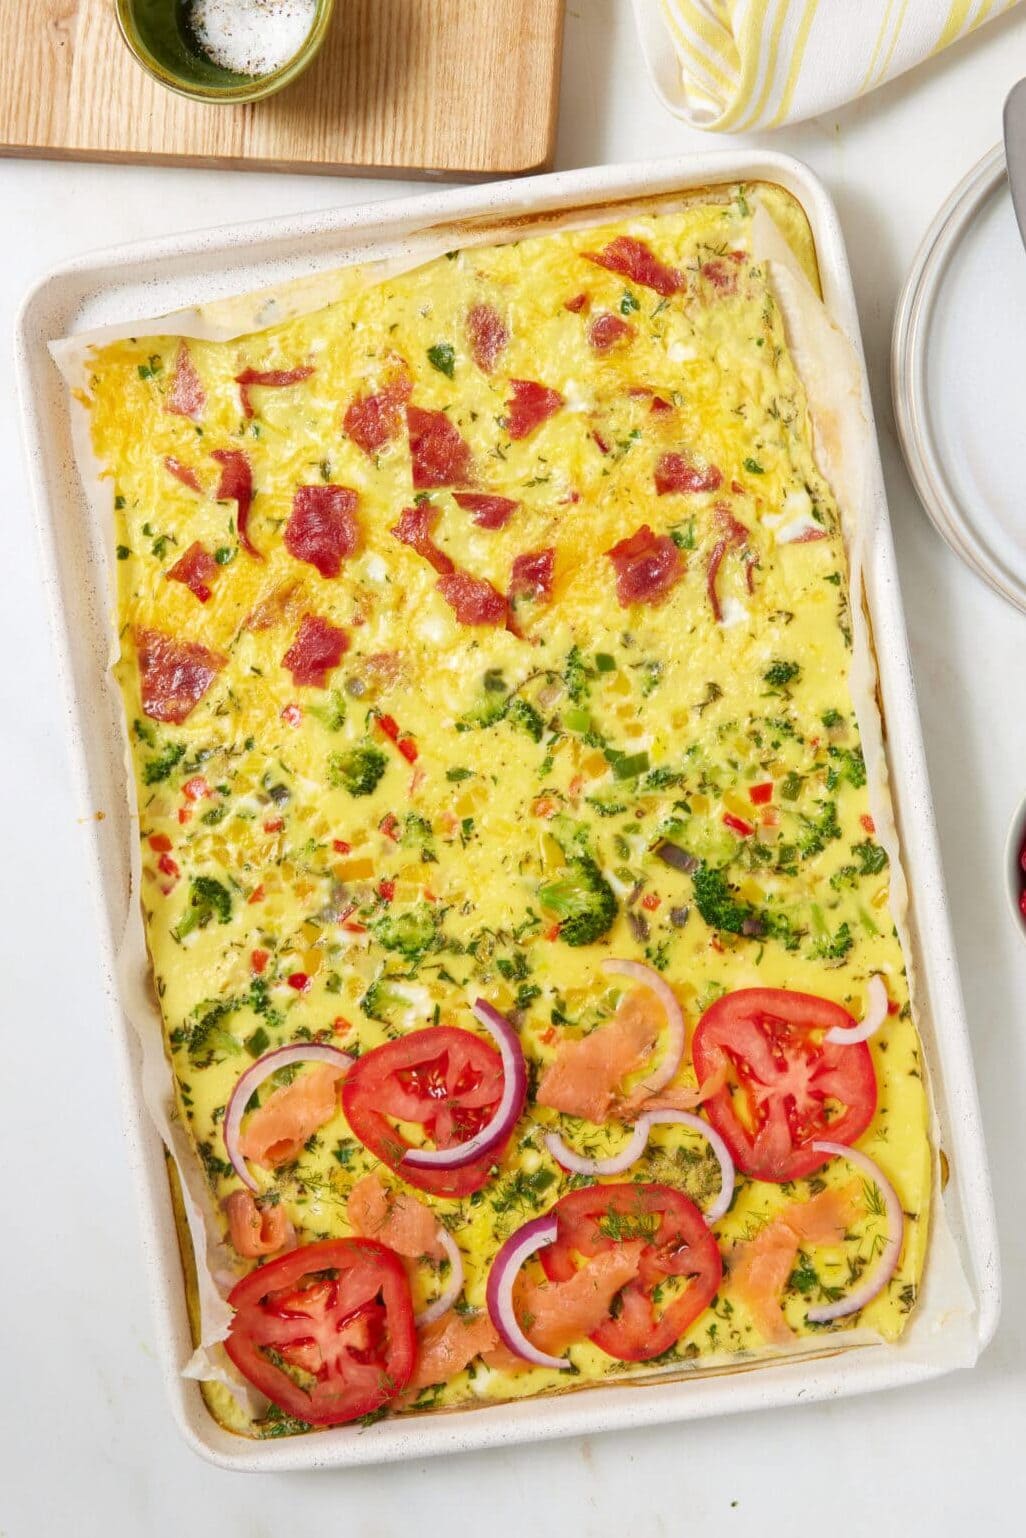
Whenever I make individual omelets for a group, I inevitably wind up standing at the stove while everyone else digs in. This method solves that breakfast conundrum beautifully: pour the egg mixture into a parchment-lined pan, scatter on the fixings and let the oven handle the rest. You can cover the entire surface with one crowd-pleasing combination or divide it into two or three distinct flavor zones. I usually choose three because, well… why commit when you can sample?
The secret to tender squares
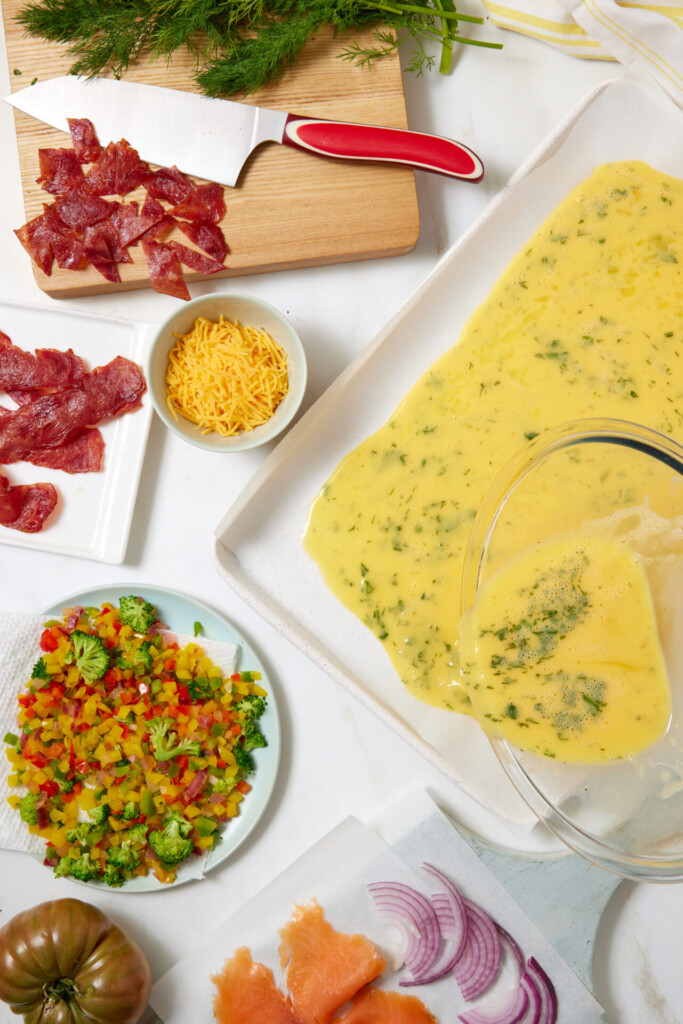
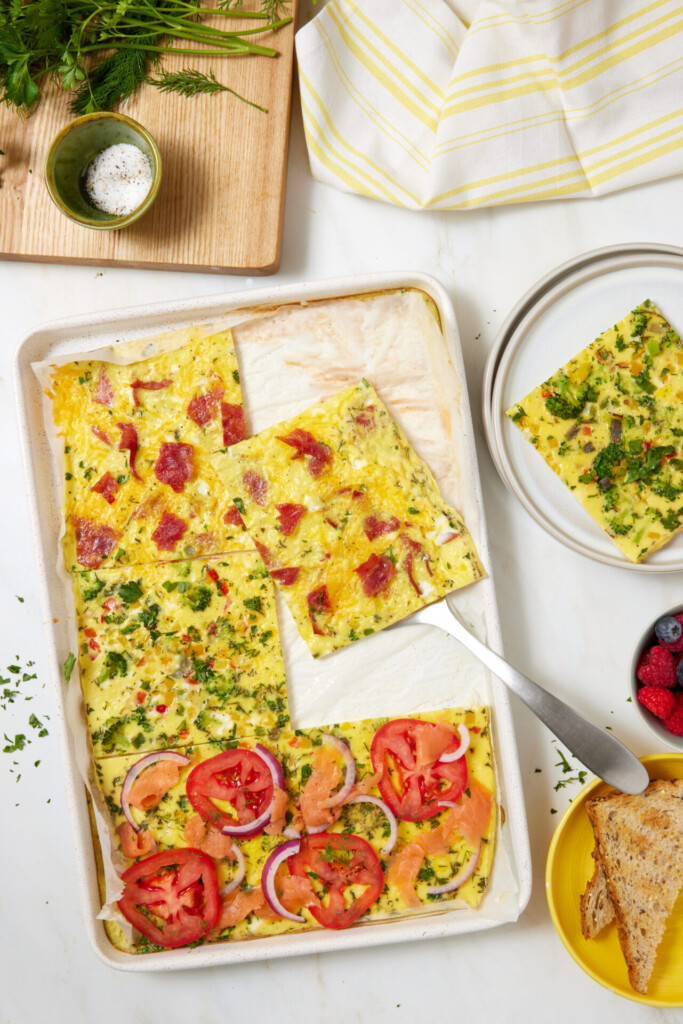
The biggest secret to tender, neatly sliced squares is controlling moisture. Sauté vegetables first and cook them until the pan looks dry, especially water-rich picks like mushrooms, zucchini and spinach. Hearty ingredients (cooked veggies, bacon, sausage and shredded cheese) can be added before baking. Save delicate additions such as lox, fresh tomato, avocado and raw red onion for the end so they stay vibrant and fresh.
Why this breakfast works beautifully
- It feeds the whole table. Six generous portions bake together, so everyone can eat while the omelets are warm.
- The toppings are 100% customizable. Create one flavor across the pan or divide it into sections to please different palates.
- Cleanup stays simple. Parchment prevents sticking and allows you to lift the baked omelet out for easy slicing.
- Leftovers are ready for the next morning. Refrigerate individual squares for up to two days, then reheat for about 30 seconds in the microwave. Enjoy with toast and fresh fruit for a complete breakfast.
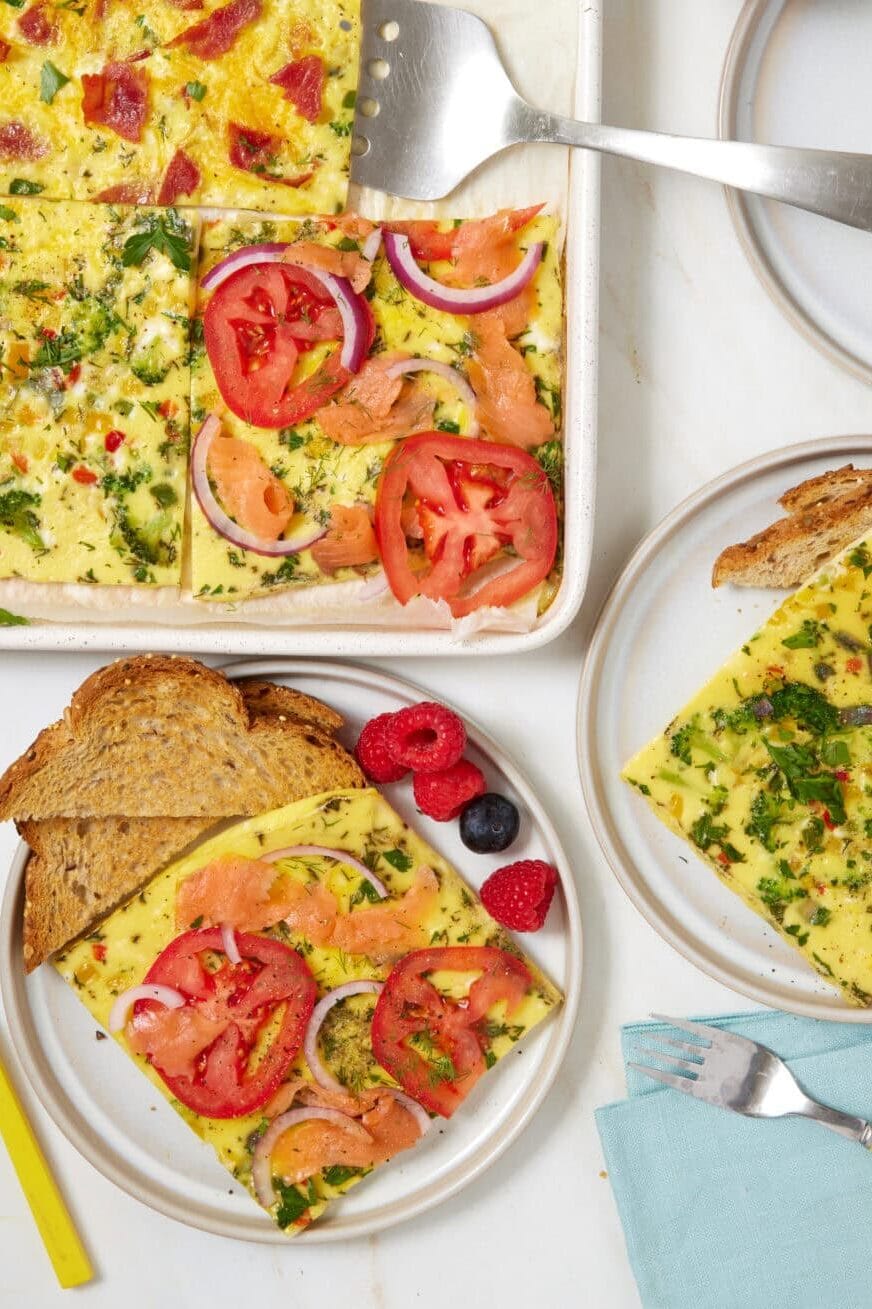
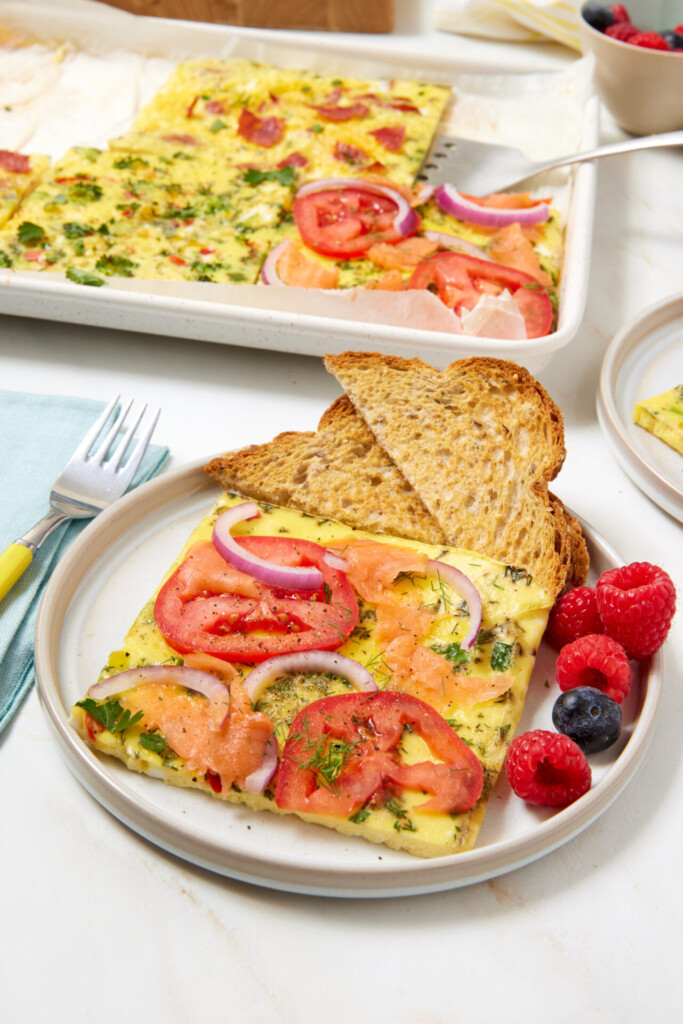
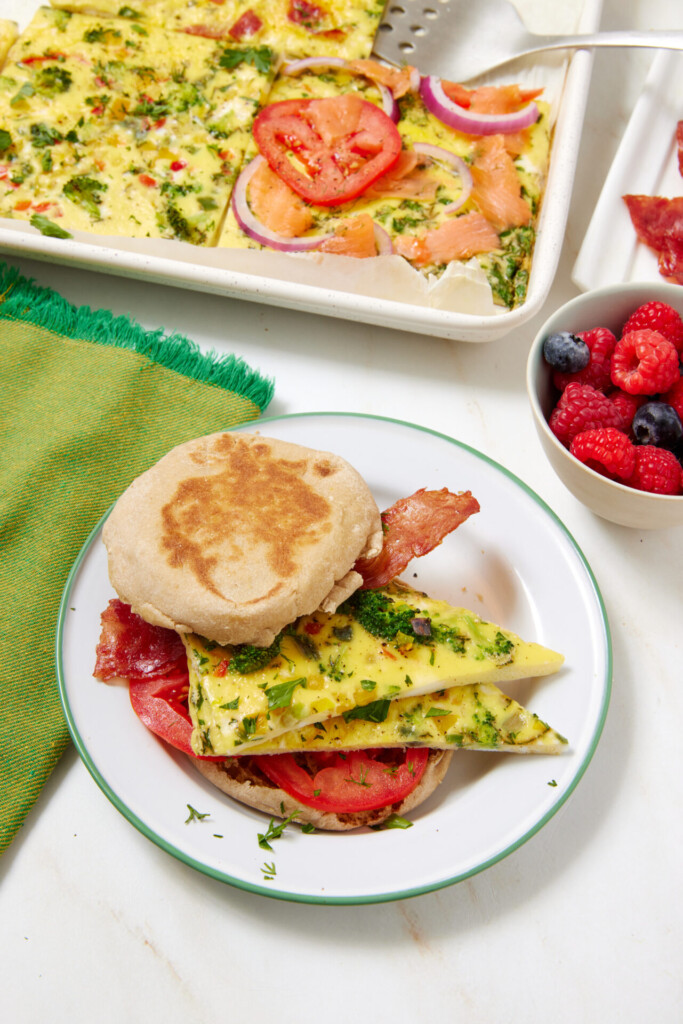
Serve the squares straight from the pan, pair them with fruit or a simple green salad, tuck one into a toasted English muffin or whole-grain tortilla, or slide a slice on top of toast for a portable breakfast.
Pick your toppings, pop it in the oven…and invite everyone to claim a corner!
One quick note before you start: this recipe is written for a quarter sheet pan (about 13×9 inches with a rim), and a standard metal 9×13 baking pan works beautifully, too. The smaller pan is the secret to thicker, plush squares that eat like a true omelet. (A glass 9×13 also works; just add a few extra minutes.)
Try these Sheet Pan Pancakes!

Easy Sheet Pan Omelets
Ingredients
- 8 large whole eggs*
- 4 large egg whites*
- 2 tablespoons milk of choice
- ½ teaspoon kosher salt
- ¼ teaspoon ground black pepper
- 2 to 4 tablespoons chopped fresh herbs, optional (like dill, basil, parsley, chives, thyme)
- Nonstick oil spray, for the pan
- Toppings of choice: sautéed veggies, cooked bacon or sausage, shredded cheese, lox, sliced tomato, red onion, etc. (see notes for my three favorite combos—and for which toppings go on before baking vs. after)
Instructions
- Preheat the oven to 375°F with a rack in the middle position (double-check that the rack sits level so your eggs bake evenly). Line a rimmed quarter sheet pan or metal 9×13-inch baking pan with parchment paper, then mist the parchment with nonstick oil spray. The parchment is your no-stick insurance policy—it lets you lift the whole omelet right out of the pan for clean, easy cutting.
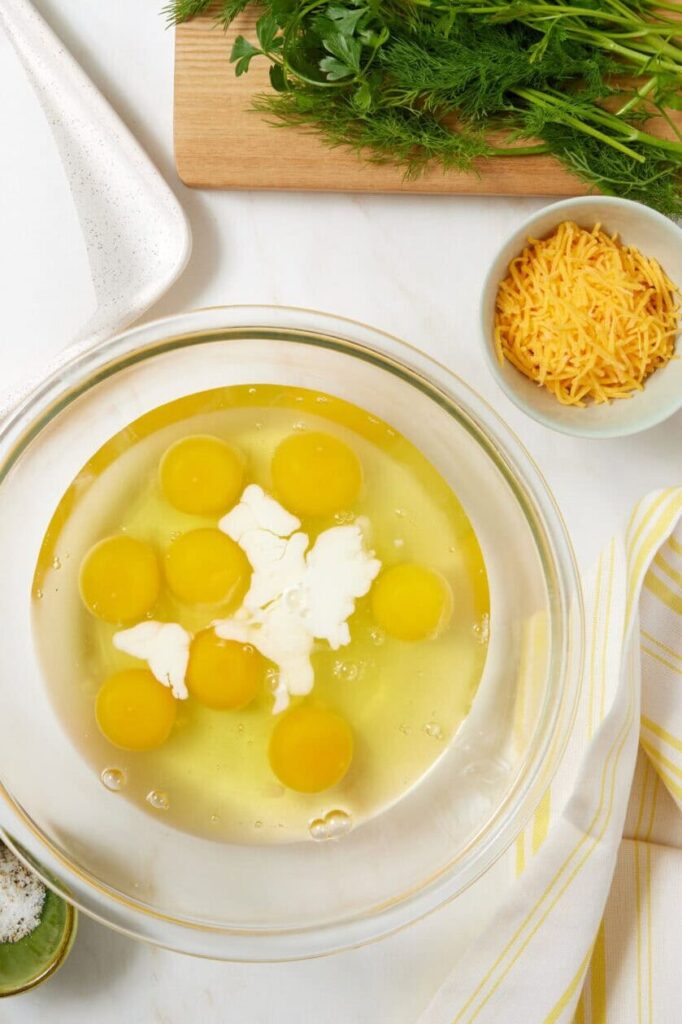
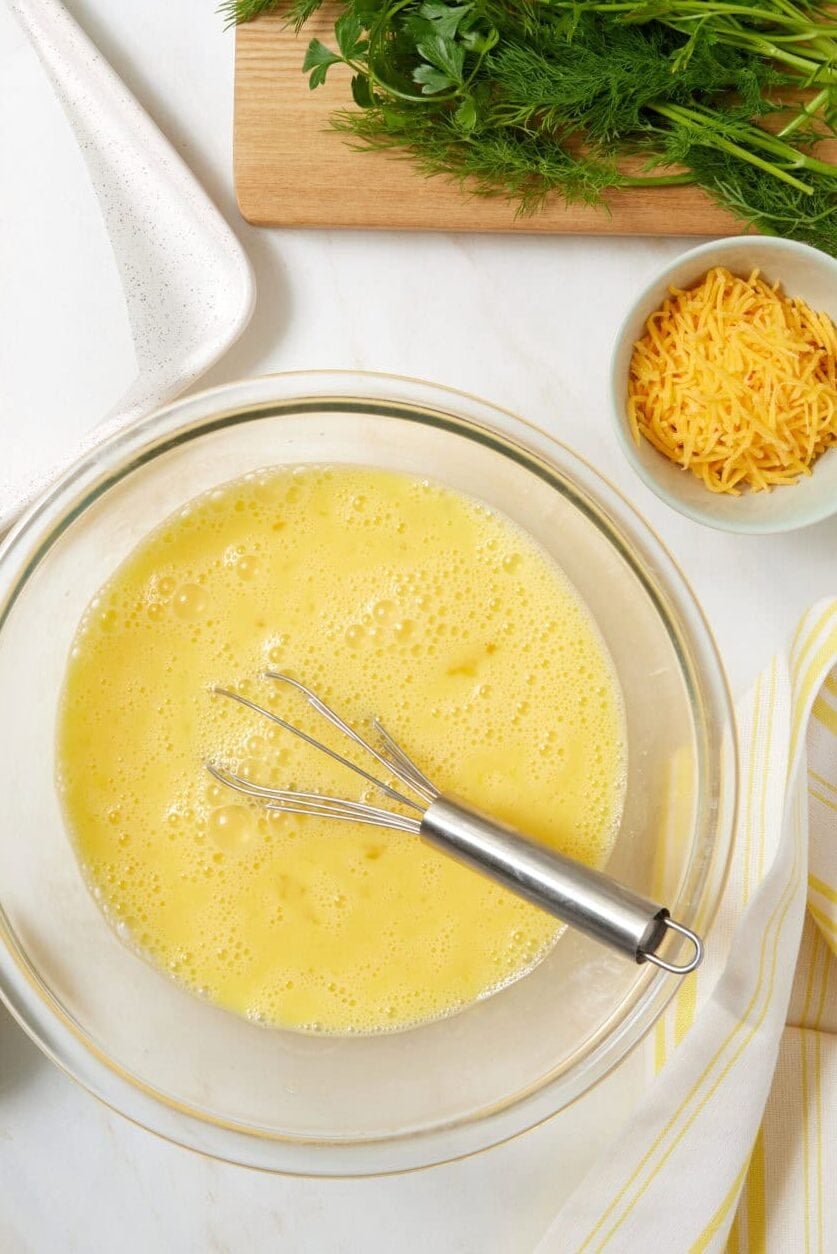
- In a large mixing bowl, whisk the eggs, egg whites, and milk until the mixture is well blended and a little frothy, with no streaks of white remaining. Whisk in the salt, pepper, and optional herbs.
- Pour the egg mixture into the prepared pan. Now the fun part: decorate the top with your pre-bake toppings. You can go with one flavor across the whole pan, or divide it into two or three sections and vary it up, like I do. Just remember the golden rule—any veggies or meats going on before baking should be fully cooked and patted dry (see notes), and delicate toppings like lox, fresh tomato, and raw onion wait until after baking.
- Bake for 20 to 25 minutes, until the eggs are just set in the center with no jiggle when you gently shake the pan (start checking at the 18-minute mark—ovens vary, and pulling the eggs at “just set” is the difference between silky and rubbery; they’ll finish firming up with carryover heat).
- Let rest in the pan for 3 to 5 minutes, then use the parchment to lift the whole omelet onto a cutting board. Cut into 6 squares, add any after-baking toppings, and serve warm.