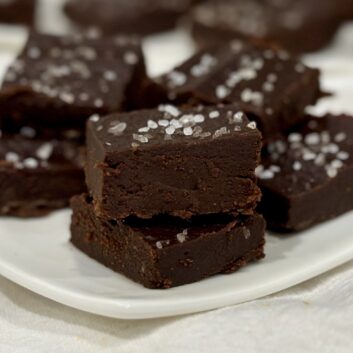
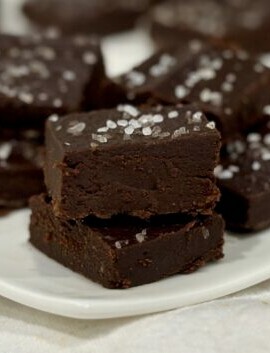
3-Ingredient Chocolate Truffles
Get ready to be swept off your feet with these easy, yet insanely delicious chocolate squares! They’re bite-size morsels of joy that truly capture the essence of indulgence.

Just imagine creating something that tastes as decadent as a classic chocolate truffle with just three simple ingredients: chocolate chips, canned pumpkin puree, and coarse sea salt. The melty chocolate chips create a smooth and creamy texture that melts-in-your-mouth. The pumpkin puree is the secret star here – not only does it add a velvety richness akin to heavy cream, but it also sneaks in a nutritious punch, making these treats a bit more virtuous. And the sea salt finish elevates the overall flavor to celestial levels.
These chocolate squares are truly a testament to the magic of combining simplicity with creativity. They’re a celebration of flavor, texture, and a little nutritional savvy, all wrapped up in one wonderful package. It may just be love at first bite.
Looking for another fudgy recipe? Try my Chocolate Peanut Butter Fudge Bites!

3-Ingredient Chocolate Truffles
Ingredients
- 4 cups chocolate chips, melted
- 14 oz pumpkin puree, (1 can)
- 1 to 2 teaspoons course sea salt
Instructions
- Line a 9 x 13 casserole pan with parchment paper; allow the sides to drape over the pan for easy lift and removal after the fudge is firmed. Set aside.
- Melt the chocolate chips using a double boiler or using the microwave method (see recipe notes). Once the chocolate is velvety smooth, mix in the pumpkin puree, and stir until the mixture is smooth and creamy without any streaks of pumpkin.
- Pour the batter on to the lined baking pan and smooth with a spatula so it’s evenly distributed. Sprinkle coarse sea salt over the top. Give the pan a few taps on the counter to even out the batter and flatten the top. Place in fridge to firm for at least 1 hour or until overnight.
- Lift the parchment paper and place on a cutting board. Slice into ~1 ½ inch squares (approximately 8 slices lengthwise and 6 slices across the width). Store them in the fridge until ready to serve (you want them to remain firm and slightly chilled).
- Leftovers will keep in the fridge in a sealed container for up to a week. Or wrap the pieces individually and freeze for up to 3 months. When you’re ready to enjoy, let the fudge defrost on the counter until slightly softened (the pieces will defrost quickly).

